Vehicle batteries starting & charging problems rarely begin with one dramatic failure. More often, the starter gets a little slower, the headlights dip at idle, or a project car sits for three weeks and loses enough voltage to expose a weak connection. Understanding vehicle batteries starting & charging systems gives you a better result than throwing a new battery at every no-start condition. The battery stores energy, the starter uses it, and the alternator replaces it once the engine is running. A fault anywhere in that chain can look like the same dead-car problem.
On a modified car, the variables multiply. An upgraded audio system, electric fan, EFI conversion, winch, alarm, or relocated battery changes the load and the wiring. Factory troubleshooting advice still helps, but it does not account for a 200-amp alternator feeding a long rear-mounted cable or a car that spends most of its life on a tender. Start with measurements, write down the results, and keep the notes in your build journal.
What the battery actually does
A typical 12-volt automotive battery contains six cells. A fully charged, rested lead-acid battery usually measures around 12.6 to 12.8 volts. Around 12.4 volts suggests partial charge, while 12.2 volts is close to half charge. These readings are useful clues, not a complete health test. A battery can show 12.6 volts with no load and still collapse when the starter demands several hundred amps.
Battery group size matters because it determines physical fit, terminal location, reserve capacity, and available cranking power. A Group 24 battery is not automatically a suitable replacement for a Group 35, even if both appear close on the parts-store shelf. AGM batteries, such as common Optima or Odyssey applications, tolerate vibration and cycling better than many conventional flooded batteries, but they cost more and still need correct charging voltage. Lithium starter batteries are another category entirely; their charging requirements and low-temperature behavior deserve careful attention.
Before buying anything, inspect the hold-down, tray, positive cable, ground strap, and terminal posts. A loose battery can crack internally during hard driving. Corrosion between the negative cable and engine block can create enough resistance to cause a slow crank while making the battery look innocent.
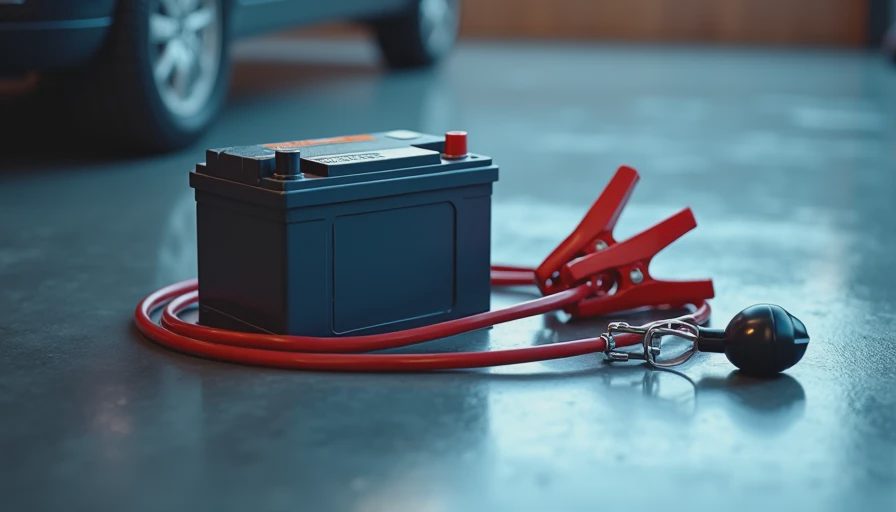
Testing vehicle batteries starting & charging faults
Begin with a visual inspection and a digital multimeter. With the engine off for several hours, record battery voltage at the posts, not on the cable ends. Then switch on the headlights for about 30 seconds and watch the voltage. A healthy, charged battery should remain reasonably stable; a sharp drop below roughly 10 volts under a proper load test points toward poor capacity or a discharged battery. Recharge it before condemning it if the car has simply been sitting.
Next, measure cranking voltage while watching the meter. Voltage briefly falling into the high single digits can indicate a weak battery, excessive starter draw, or high resistance in the cables. Do not guess which one. Perform a voltage-drop test: place one probe on the battery positive post and the other on the starter's positive terminal while cranking. Repeat from the battery negative post to the starter housing. More than a small fraction of a volt on either side deserves investigation, especially on a relocated-battery installation.
The same vehicle batteries starting & charging checklist should include a parasitic-draw test. Lock the car, let its modules go to sleep, and connect an appropriate ammeter in series only after following the meter's current-limit procedure. Pull fuses one at a time if the draw is excessive. Aftermarket stereos, dash cameras, remote-start systems, and trunk lights are frequent culprits. Never crank or start the engine with a multimeter connected in its low-current mode.
Checking the alternator and regulator
Once the engine starts, measure charging voltage at idle and again around 2,000 rpm with the accessories off, then repeat with headlights, blower motor, and rear defroster operating. Many conventional systems show roughly 13.5 to 14.8 volts, but smart charging systems can vary their output based on temperature, battery state, and computer commands. A low number at the battery may be a cable problem rather than a failed alternator.
Inspect the serpentine belt for glazing, cracks, contamination, or inadequate tension. A belt that slips under electrical load can produce intermittent charging without making an obvious noise. Check the alternator plug, main output stud, fusible link, and engine-to-chassis ground. On a custom build, confirm that the alternator case has a clean ground path. Powder coating, painted brackets, and rubber isolators can interrupt that path.
AC ripple is another useful test. Set a meter to AC volts and measure across the battery with the engine running. Excessive ripple can suggest damaged alternator diodes, although a basic meter is not a substitute for an oscilloscope or professional tester. If the charging voltage is high enough to boil a flooded battery or repeatedly exceeds the specification for an AGM unit, stop driving until the regulator issue is resolved. Overcharging damages the battery and can harm sensitive electronics.
Wiring upgrades that solve repeat failures
A high-output alternator does not fix undersized wiring. It can make voltage drop and heat worse if the charge cable remains marginal. For a street car with a modest upgrade, a properly protected 4-gauge cable may be adequate; larger audio, off-road, or competition systems often justify 2-gauge or 1/0 cable. The correct choice depends on current, cable length, insulation, routing, and allowable voltage drop.
Use a fuse or fusible link close to the battery on any long positive cable. Route it away from exhaust heat, sharp brackets, steering shafts, and moving suspension parts. Crimp terminals with the correct tool, seal exposed connections, and support the cable so vibration cannot work the terminal loose. A clean engine ground and a separate chassis ground are often more valuable than an expensive alternator. Photograph the routing before wrapping the harness so the next repair does not become archaeological work.
Ground straps deserve the same attention as positive cables. Add a flexible engine-to-chassis strap when an original strap is missing, painted over, or undersized. After installation, repeat the voltage-drop tests under load. A cable upgrade that cannot improve measured drop has not solved the actual restriction.
Choosing charging support for a project car
A battery tender is useful for a stored car, but select one with a mode compatible with the battery chemistry. A small maintainer is not a substitute for a charger capable of recovering a deeply discharged battery. If the vehicle has a disconnect switch, install it where it is accessible and size it for the starter current rather than choosing the cheapest red knob on the shelf.
For a car with electric fans, EFI, fuel pumps, and an audio amplifier, calculate the load instead of relying on advertised alternator output. Alternators often produce less current at idle, exactly when fans and pumps are working hardest. A larger battery can provide more reserve, but it will not repair an alternator that cannot replace the energy being used. Vehicle batteries starting & charging decisions should match the way the car is driven, not just the peak number printed on a product page.
Keep a dated record of resting voltage, cranking voltage, charging voltage, belt condition, and parasitic draw. That log turns an intermittent failure into a pattern. Vehicle batteries starting & charging work becomes much easier when you can compare today's 11.8-volt crank event with the 10.1 volts recorded six months earlier.
A practical no-start sequence
When the car fails in the garage, do not immediately jump it and erase the evidence. First check whether the interior lights are bright, whether the starter clicks, and whether the engine turns at normal speed. Measure resting voltage, inspect the terminals, and test voltage drop during cranking. If it starts with a jump, measure alternator output immediately, then perform a parasitic-draw test after the vehicle goes to sleep.
If the battery is old, deeply discharged, swollen, leaking, or repeatedly fails a load test, replace it with the correct group and chemistry. If a new battery goes flat within days, the car has a charging, draw, wiring, or usage problem. Document the symptoms, test values, part numbers, and repair steps in the build thread. That record can save hours when the same fault appears after an engine swap or winter storage.
Vehicle batteries starting & charging systems reward methodical work. Test the battery, verify the starter path, confirm alternator performance, and prove the result under load. Post your build. We'll read the whole thing.



No comments yet.