The Toyota Celica 1989 is a strong starting point for a long-term garage project because it has usable suspension geometry, compact dimensions, and a deep supply of Toyota parts. It is old enough to reward careful mechanical work but common enough that you can still find service information, used trim, and donor components. The key is buying the right shell before spending money on wheels, engine parts, or paint.
Start with the shell, not the horsepower
A clean body is worth more than a bargain engine. On a Toyota Celica 1989, inspect the lower door seams, rocker panels, rear quarter panels, hatch opening, strut towers, floor pans, and the area around the windshield. Surface rust can be cleaned and sealed. Bubbling paint, swollen seams, and fresh undercoating hiding uneven metal usually mean the repair bill is already moving beyond a weekend project.
Bring a bright flashlight, a small magnet, a paint-depth gauge if you have one, and a screwdriver for probing questionable areas. Look beneath the carpet and spare-tire cover. Check whether the drain plugs are present and whether water has been sitting in the rear cargo area. Open and close every door, hood, and hatch. A replacement hatch seal might cost $50 to $150, while correcting distorted structural metal can consume several thousand dollars in labor and materials.
Documentation matters just as much. A folder with old registration records, timing-belt receipts, alignment reports, and photographs is more useful than a seller claiming the car was “always maintained.” Confirm the vehicle identification number on the title, dashboard, and door label before money changes hands. If the car has been modified, ask for the original parts. Factory brackets, wiring, intake pieces, and trim can be difficult to replace later.
Know which mechanical package you are buying
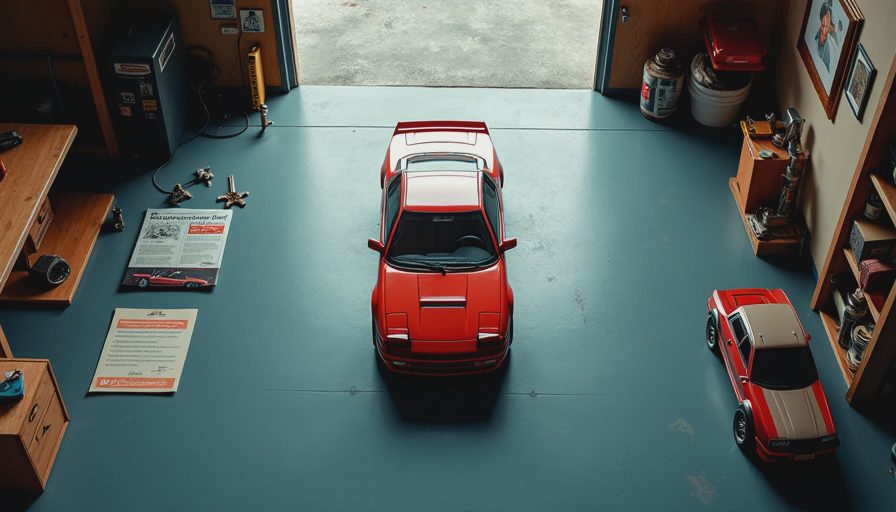
The Toyota Celica 1989 was sold in several configurations, so identify the exact trim and drivetrain before ordering parts. Front-wheel-drive versions are generally easier to support with ordinary service components, while all-wheel-drive or performance-oriented variants can have more specialized driveline and suspension requirements. Do not assume that a part listed for a later Celica, MR2, or Corolla will bolt on without checking dimensions, connector styles, and mounting points.
Start your inspection with a cold engine. A warm engine can hide hard starting, excessive smoke, and noisy valvetrain components. Watch for blue smoke on startup, white exhaust after the engine reaches operating temperature, and an oily film in the coolant reservoir. Check compression only after verifying battery condition and throttle position, then record each cylinder rather than relying on a single overall number.
Replace age-sensitive service items before chasing power. Belts, hoses, vacuum lines, engine mounts, fuel filters, brake hoses, and coolant should be treated as project fundamentals. A timing-belt service with a water pump and front seals can be a sensible first major job. Use a repair manual, label each connector, and photograph routing before removal. A $20 roll of labels prevents a surprising number of reassembly problems.
Build the chassis before adding power
For a road-driven Toyota Celica 1989, tires and brakes will improve the car more than an aggressive camshaft. Begin with four matching tires, fresh brake fluid, inspected calipers, and properly functioning wheel bearings. A basic refresh with quality shocks, rubber or polyurethane bushings, ball joints, and an alignment can transform steering response without making the car miserable on rough pavement.
Choose suspension parts according to the car’s actual use. A street car that sees weekend canyon roads needs compliance and predictable grip. A track project may justify adjustable dampers, higher spring rates, and additional bracing, but those upgrades also expose worn mounts and weak tires. Set ride height only after corner weights, alignment, and clearance have been considered. Excessive lowering can reduce suspension travel, damage exhaust components, and create bump-steer problems.
Brake upgrades should be matched as a system. Larger front rotors alone do not guarantee shorter stops if the tires are old or the rear brakes are neglected. Replace cracked hoses, clean sliding pins, and measure rotor thickness against the service limit. Use a firm pedal as a test result, not as proof that every component is healthy.

Plan the engine work in stages
The Toyota Celica 1989 deserves a staged build plan with a written budget. Stage one should make the car reliable: cooling system, ignition maintenance, fuel delivery, charging voltage, oil leaks, and idle quality. Stage two can address drivability with intake plumbing, exhaust repairs, engine mounts, and ECU diagnosis. Only after those systems are stable should you consider forced induction, an engine swap, or custom tuning.
Set aside a contingency fund of at least 20 percent for seized fasteners, broken clips, unavailable trim, and machine-shop surprises. A realistic first-year budget might look like $1,500 to $3,000 for safety and maintenance on a running car, $4,000 to $8,000 for a thorough mechanical refresh, or considerably more for rust repair and a full repaint. The cheapest purchase price is rarely the cheapest finished car.
Keep a spreadsheet with part number, supplier, price, shipping cost, and installation date. Record fluids by brand and viscosity, torque values, alignment settings, and electrical readings. If a repair fails, that log tells you what changed. It also keeps the project from buying the same gasket or sensor twice.
Handle title, insurance, and storage early
Insurance for a Toyota Celica 1989 depends on state rules, driver history, mileage, condition, and how the vehicle is used. A standard policy may be appropriate for regular transportation, while a collector or classic policy can have restrictions involving annual mileage, storage, commuting, and modifications. Ask specifically how agreed value, spare parts, towing, and installed equipment are treated before choosing coverage.
Liability coverage protects other people and property when you cause a crash; it does not repair your project car. Collision coverage generally addresses damage from a crash, while comprehensive coverage typically addresses non-collision losses such as theft, fire, falling objects, or weather. A project sitting on jack stands may need different practical protection than a finished car driven to work every day. Store the vehicle in a locked, dry space, use a battery maintainer, and keep photographs and receipts for major work.
Tell the insurer about engine swaps, suspension changes, wheels, roll bars, and expensive electronics. Undisclosed modifications can complicate a claim. Get quotes using the correct vehicle identification number and title status, then compare deductibles rather than focusing only on the monthly premium.
Document the build so it stays useful
Good documentation turns a Toyota Celica 1989 project into a reference another builder can actually use. Photograph the car before disassembly, then take close images of routing, brackets, damaged fasteners, and wiring colors. Write down what the vehicle did before the repair and what changed afterward. “Runs better” is less useful than “cold idle now holds at approximately 900 rpm, coolant temperature is stable, and the hesitation at 2,500 rpm is gone.”
Post failed attempts as well as successful ones. Explain whether a connector was wrong, a reproduction panel needed trimming, or a suspension setting created tire rub. Include the goal, parts list, tools, measurements, and next test. That format helps readers diagnose their own cars and gives you a searchable record when the project returns months later.
The Toyota Celica 1989 is not a shortcut to a finished build. It is a compact platform that rewards methodical inspection, staged spending, and honest notes. Buy the straightest shell you can find, restore safety systems first, and verify every part before installation. Then post your build. We'll read the whole thing.

No comments yet.