A car door vapor barrier is one of those parts you do not notice until it fails. Then the carpet smells damp, the speaker cuts out, the window switch acts strange, or water appears on the sill after a storm. On a long-term project, replacing the factory barrier with a careful seal is not glamorous work, but it protects the door, cabin, wiring, and audio equipment. Treat it like structural weatherproofing, not leftover plastic you can tape back in five minutes.
What the barrier actually does
The inner door shell is designed to let some water enter. Rain can pass the window belt seal, run down the glass, and collect inside the door. Drain holes at the bottom let that water escape. The barrier sits between the wet side of the inner shell and the dry side of the door panel, forcing water away from the trim, carpet, and electrical connectors.
A car door vapor barrier is often called a moisture barrier, water shield, or door membrane. The names are used interchangeably in garages, although vapor control is not its only job. It also blocks drafts, reduces dust movement, and helps contain sound from the door cavity. Factory versions are commonly molded plastic sheets, foam-backed panels, or fiberboard assemblies with butyl adhesive around their perimeter.
Do not confuse this barrier with sound deadening. Products such as Dynamat, Second Skin, and Noico are applied to metal panels to control resonance. They can improve the door, but they do not automatically replace the water shield. A solid layer of aluminum-backed damping material can still leave a leak path around the speaker, harness, or door handle.
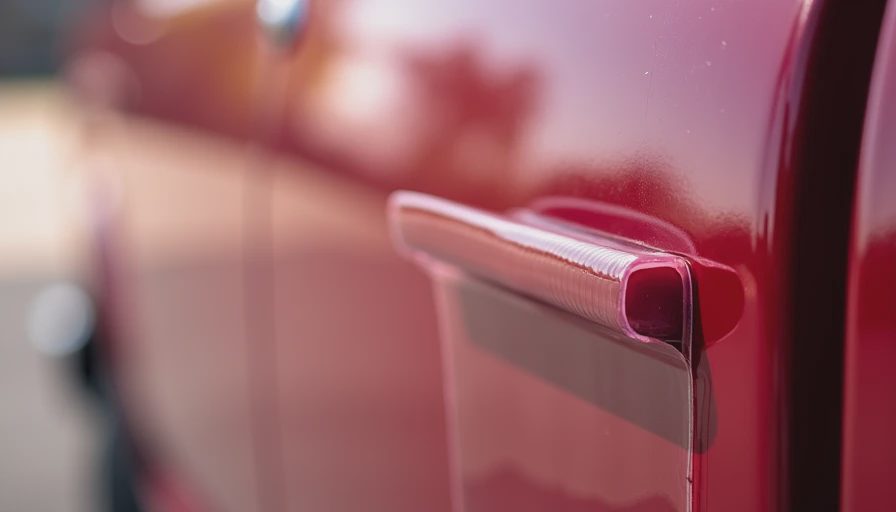
Removing the old seal without losing the evidence
Before removing anything, photograph the door with the panel off. Capture the original routing around the speaker, latch cable, window regulator, and wiring clips. Those pictures are useful when a replacement panel looks simple but has a compound bend near the mirror triangle. Mark the top edge with masking tape and note every factory opening.
Use a plastic trim tool rather than a screwdriver against painted metal. Warm butyl with a heat gun on its low setting or a hair dryer, keeping the nozzle moving. Cold butyl can pull paint, split an old plastic sheet, and leave you wondering whether the adhesive was actually bonded. If the old panel is intact, lay it flat and use it as a template. If it is torn, tape the pieces together before tracing it.
Clean the mounting flange with a plastic scraper and a suitable adhesive remover. Avoid flooding the door with solvent, particularly around painted surfaces and connectors. Leave a thin, clean film of factory butyl if it is still rubbery and bonded. Remove loose dirt, hardened chunks, and oily residue. Adhesive sticks to clean metal; it does not stick reliably to dust or silicone dressing.
Choosing material for a durable replacement
For most builds, 6-mil polyethylene sheet is a practical replacement material. It is inexpensive, flexible, and easy to cut. Clear plastic lets you see whether a cable or connector is trapped behind the panel. Heavy plastic sheeting works well when the original shield is a simple flat shape, while closed-cell polyethylene foam is useful when you also need light insulation and padding against the door card.
The adhesive matters more than the exact plastic. Automotive butyl rope, such as 3M 08612 or a comparable 5/16-inch product, creates a serviceable seal and remains removable for future repairs. Butyl tape is also useful around speakers and access covers. Avoid household duct tape, masking tape, and ordinary silicone as the primary perimeter seal. Duct tape dries out, masking tape is not waterproof, and silicone makes later service unnecessarily miserable.
If the car uses a molded foam shield, copy its shape rather than making a giant flat sheet. Keep factory drain paths open. Do not cover the lower door drains, and do not create a pocket that can hold water against the panel. A barrier that seals well but traps water is a bad repair wearing a professional-looking disguise.
Cutting and installing the new panel
Lay the old shield on the replacement sheet and trace it with a fine marker. Add only enough material to reach the original sealing land. Extra plastic is not automatically safer; folds can interfere with the window glass, regulator arms, or door-card clips. Transfer holes one at a time and check their purpose before cutting. A large access hole for a speaker is not the same as a small hole for a harness clip.
Apply the butyl in one continuous loop whenever possible. Overlap the ends by roughly an inch and press the joint together. Keep the bead centered on the metal flange instead of stretching it thin around corners. Position the panel from the top edge downward, then press the perimeter with a small roller or your thumb through a clean plastic bag. The goal is a continuous compression seal, not a flat smear.
A car door vapor barrier should sit behind every trim opening that can receive runoff. Around a speaker, seal the speaker adapter to the door and ensure the barrier directs water toward the bottom of the shell. Around the wiring grommet, leave enough slack for movement without cutting a star-shaped opening that can tear. Reinstall factory fasteners where they carry the panel, but do not rely on push clips alone to create a waterproof edge.
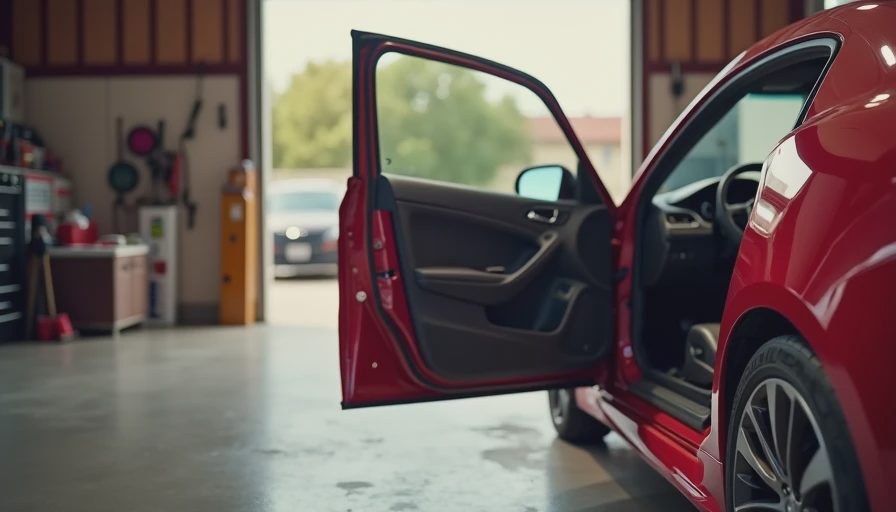
Testing the work before the door panel goes back on
Test the regulator by moving the window fully up and down while watching through the access openings. Listen for plastic rubbing the glass or a cable brushing the new sheet. Operate the interior and exterior handles, lock mechanism, mirror, speaker, and window switch. A five-minute dry test can save an afternoon of removing the door card again.
Next, close the door and run a gentle stream of water over the outside glass. Do not start with a pressure washer. Watch the bottom of the door and the inner barrier edge. Water should leave through the factory drains, not cross the upper edge and run onto the sill. If you see a leak, dry the area completely and add butyl to the actual path rather than covering the whole door in random tape.
Pay attention to the carpet and kick-panel area after the first drive in wet weather. A small leak can travel along wiring or the door seal before it becomes visible. If the car has an aftermarket amplifier, alarm, or power-lock conversion, inspect those added harnesses too. An installation that was dry with factory wiring can leak through a poorly sealed aftermarket hole.
Common mistakes on project cars
The most common mistake is sealing the drain holes. Builders focused on keeping water out sometimes cover every opening, but the door is expected to drain internally. Another mistake is putting sound-deadening sheets over the entire inner shell and assuming the barrier is no longer needed. Keep the water-management layer intact, especially above the speaker and along the lower door-card edge.
Using one small strip of tape over a torn corner also fails regularly. Water follows the edge of the tear and finds the opening. Patch small damage with a larger piece of compatible plastic and seal its perimeter with butyl. For a badly brittle panel, replace it rather than building a patchwork quilt from several materials.
Finally, do not rush reassembly because the door looks finished. Leave the panel off until the adhesive has seated and every function has been checked. On a restoration that will be documented for years, photograph the finished barrier, material thickness, adhesive product, and any routing changes. The next service session will be easier, and another builder can reproduce the result instead of guessing.
Final build notes
A proper car door vapor barrier costs little compared with replacing a wet door card, corroded connector, or damaged amplifier. The winning method is simple: preserve the factory shape, use automotive-grade butyl, keep drainage open, test window and latch movement, and verify the door with controlled water before closing it up.
If your project is receiving new speakers, power windows, or a full interior refresh, do this job while access is easy. Post your build, include the year and model, show the material and adhesive you used, and record what worked after the first storm. We'll read the whole thing.

No comments yet.