A project car rarely gets finished in the order shown on a parts website. You buy one component, uncover three problems, measure twice, then spend a Saturday making the fitment work. K2 Industries belongs in that real-world conversation because its catalog is aimed at owners changing the appearance, lighting, and attitude of modern cars. Before ordering K2 Industries parts, treat the product page as the beginning of your research, not the final answer.
Start with the exact vehicle and the actual goal
The first mistake is shopping by shape alone. A headlight, taillight, grille, bumper, or exhaust component that appears compatible with your car can still require different brackets, wiring, sensors, or trim. Write down the vehicle year, chassis code, body style, trim level, and any factory options. A 2015 sedan and a 2015 hatchback may share an engine but not the same rear lighting or bumper structure.
K2 Industries is easier to evaluate when the build target is specific. Are you repairing damaged lighting, converting an older front end, adding a more aggressive visual theme, or building a show-oriented car that still needs to pass inspection? Those are different jobs. Take photos of the factory mounting points, measure clearances, and record connector shapes before placing an order. If the car has adaptive lighting, parking sensors, lane cameras, or automatic leveling, note that too. Modern electronics turn a simple-looking swap into a system integration project.
For a street build, prioritize beam performance, weather sealing, legal lighting color, and serviceability. For a display-focused build, custom appearance can carry more weight, but the parts still need solid mounting and dependable connections. The right choice supports the whole car instead of creating one impressive panel surrounded by unfinished details.

What to inspect before ordering K2 Industries parts
K2 Industries listings should be read line by line. Look for fitment notes, included hardware, wiring information, installation difficulty, and whether the item is sold as a pair or individually. Product photos show the finished look, but they rarely reveal how much trimming or bracket fabrication is involved. Search your exact chassis on owner forums and build journals, then compare photos from several installations rather than trusting one perfect marketing image.
Check the return policy before opening boxes or modifying anything. A part that has been cut, drilled, painted, or wired may not qualify for a normal return. Keep the packaging, hardware bags, invoices, and installation instructions until the component has been test-fitted and operated through several cycles. Photograph the box labels when it arrives. That simple record can help resolve a wrong-year shipment or missing bracket without relying on memory.
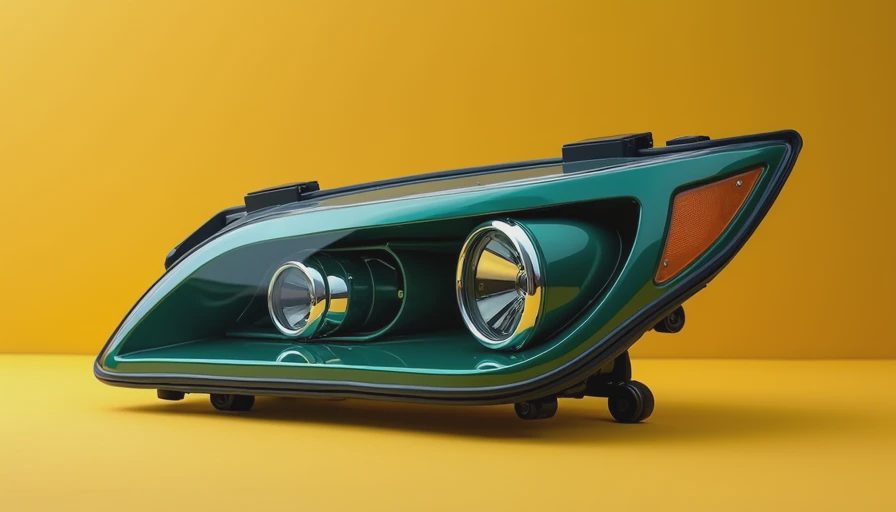
Lighting deserves extra scrutiny. Confirm that the lamp has the functions your car needs, including turn signals, running lights, high beams, and brake or reverse illumination where applicable. Inspect the lens, seals, adjusters, and connector pigtails. A bargain disappears quickly if condensation enters after the first rain or if a replacement bulb requires removing the entire bumper.
Installation planning for a clean result
The best K2 Industries installation usually begins with the factory service manual, a trim tool set, masking tape, a multimeter, and a large clean work surface. Disconnect the battery when working near airbag wiring or major electrical connectors, and label every plug before removing it. Blue painter's tape can mark fastener locations without leaving adhesive on painted panels.
Test-fit exterior components before applying permanent sealant, paint, or thread locker. Check hood gaps, fender lines, door clearance, wheel movement, and the relationship between adjacent panels. A bumper can look centered while the headlights sit several millimeters high on one side. Measure from fixed body points instead of judging by eye. If a bracket is slightly off, correct the mounting method rather than forcing the part until the plastic cracks.
For wiring, use proper automotive wire, weatherproof connectors, abrasion protection, and a fused circuit when adding a new load. Do not twist wires together and bury the joint under electrical tape. Heat-shrink crimp connectors or sealed solder sleeves are better choices, with the harness secured away from exhaust heat and sharp edges. After installation, test every function with the engine running and the headlights switched through each factory mode.
Common fitment problems and practical fixes
Aftermarket body and lighting parts often need small adjustments, but there is a difference between normal fitment work and a defective component. A minor slot in a hidden bracket can be reasonable. A mounting hole that lands outside the reinforcement, a warped panel, or a lens that cannot align with the fender is a warning sign. Stop before drilling more holes and compare the part against the vehicle-specific notes.
One common issue is interference with factory sensors. Parking sensors need the correct angle and surface thickness, while a front camera needs an unobstructed view and stable mounting. Relocating a sensor by an inch can change its detection behavior. If a new grille blocks a radar unit or changes its position, the car may need calibration equipment after reassembly. This is not the place for guesswork.
Another problem is water management. If K2 Industries lighting develops condensation, first inspect the rear caps, vents, drain paths, and harness seals. Do not automatically add silicone around every seam, because a sealed housing may still need designed ventilation. Find the entry path, dry the unit properly, and follow the manufacturer’s guidance before adding any sealant.
Budget the complete project, not just the cart total
The listed price is only one line in a modification budget. Add shipping, paint or wrap, replacement clips, wiring supplies, alignment or calibration, and the cost of recovering from a failed fitment attempt. A lighting project advertised at $600 can become an $800 to $1,000 job once trim, connectors, and professional aiming are included. That does not make it a bad purchase; it makes the real decision visible.
K2 Industries parts also deserve comparison against factory replacements, used original equipment, and competing aftermarket products. A used OEM lamp may offer easier installation but less visual impact. A custom aftermarket unit may deliver the look you want while requiring more troubleshooting. Write down each option's price, warranty coverage, expected labor, and likely resale value. A simple spreadsheet prevents a late-night order from consuming money reserved for brakes, tires, or cooling-system work.
If the car is driven on public roads, confirm that the completed setup meets applicable lighting and equipment rules where you live. An attractive beam pattern that blinds oncoming traffic is not a successful upgrade. Aim lamps on a level surface, verify cutoff height, and have the car inspected when the modification is substantial.
Document the build so the next problem is easier
A good build log records more than the finished photograph. Save connector diagrams, measurements, bracket sketches, torque values from the service manual, and photos taken before disassembly. Note which factory clips broke, which harness route worked, and how much adjustment remained after final fitment. Six months later, those details are more useful than remembering that the installation was “pretty straightforward.”
Include the exact vehicle configuration, the K2 Industries product name, installation date, tools used, and any changes made. If condensation, error codes, vibration, or panel movement appears later, your notes create a troubleshooting timeline. Other owners can also reproduce the successful parts of the job instead of repeating the same failed experiment.
That is the value of a long-form garage record: the imperfect attempt stays searchable. Post your build. We’ll read the whole thing. When the next upgrade arrives, you will have a measured plan, a realistic budget, and enough evidence to decide whether the part belongs on your car.

No comments yet.