An e30 body kit can change the entire character of a BMW E30, but it is not a bolt-on shortcut to a finished build. The catalog photo shows painted panels under perfect lighting. Your car has old mounting points, repaired fenders, uneven gaps, and thirty-year-old plastic clips that may break when you look at them. That gap between the product page and the actual garage work is where most projects either become satisfying or expensive.
The smart approach is to treat the kit as part of the car's structure and design, not as decoration. Measure the shell, decide how the car will be used, and plan the supporting hardware before ordering anything. Whether you are building a street car, track-day E30, or period-correct show project, the right parts are the ones you can mount, align, repair, and live with.
Start with the exact E30 configuration
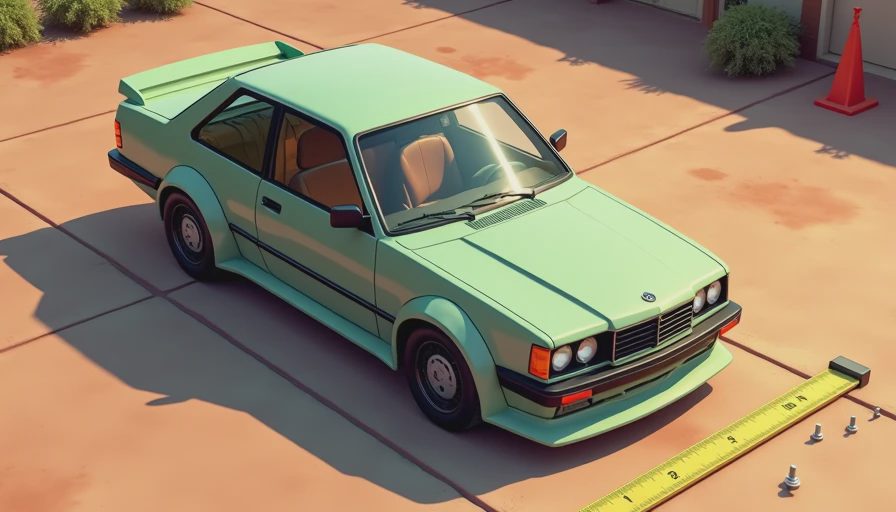
Before comparing brands, identify the chassis. A two-door coupe, four-door sedan, Touring wagon, and convertible do not share every exterior panel. Early and late E30 cars can also differ around the bumpers, valance, side skirts, and fender details. A kit designed for a late-model 325i may not line up cleanly on an early 318i without additional work.
Write down the model year, body style, bumper type, current fenders, and intended wheel width. Photograph the car from the front, side, and rear with the suspension at normal ride height. Those images give you a reference when a new side skirt makes the rocker appear lower than expected. If the car already has rust repair or replacement quarter panels, include those details in your measurements. A nominally correct e30 body kit still depends on the condition of the shell beneath it.
Also decide whether you need a complete package or only selected pieces. A front lip and side skirts may be enough to establish the look. Adding an aggressive rear bumper and wide front fenders can create a visual mismatch if the wheels, ride height, and rear track stay stock.
Fiberglass, polyurethane, or ABS?
Material determines how the kit behaves in your workshop. Fiberglass is common for custom front bumpers, splitters, flares, and replica motorsport parts. It is relatively easy to modify, can be repaired with resin and cloth, and often costs less up front. The tradeoff is brittleness. A hard scrape can crack a fiberglass corner instead of flexing around the obstacle.
Polyurethane is more forgiving on a street-driven car. It can absorb light contact and return closer to its original shape, though repairing and refinishing it requires compatible products and careful preparation. ABS plastic is another practical option, especially for lips and trim pieces. It usually has a more consistent molded surface, but reshaping it requires heat and patience rather than ordinary fiberglass tools.
Ask the seller what hardware is included, whether the mounting holes are drilled, and whether the parts were test-fitted on an actual E30 shell. A low price can disappear quickly when you add brackets, rivnuts, filler, primer, shipping, and paint. For a complete project, set aside roughly $500 to $1,500 for basic parts before bodywork and paint, with premium or highly customized builds going substantially higher.
Test-fit before cutting or painting
The most important step with an e30 body kit is a dry installation. Do not send untested parts directly to the paint booth. Remove the original trim, clean the mounting surfaces, and support each new panel with jack stands, clecos, temporary bolts, or masking tape. Work from the center outward so you can see whether the part is centered before chasing the ends.
Check the hood gap, headlight clearance, wheel opening, tire sweep, and door operation. Turn the steering from lock to lock while the suspension is compressed if the new bumper or flare sits close to the tire. A car that clears on a lift can rub badly when the outside front corner loads during a turn. Check the exhaust, tow hook, oil cooler, and jack points as well. Bodywork should not make routine service impossible.
On fiberglass, expect some adjustment. Slotting a hole, adding a small bracket, or trimming a flange is normal. Cutting away large sections to force alignment is not. If a panel needs major reshaping, stop and compare it with the opposite side before making permanent changes.
Mounting hardware matters more than people expect
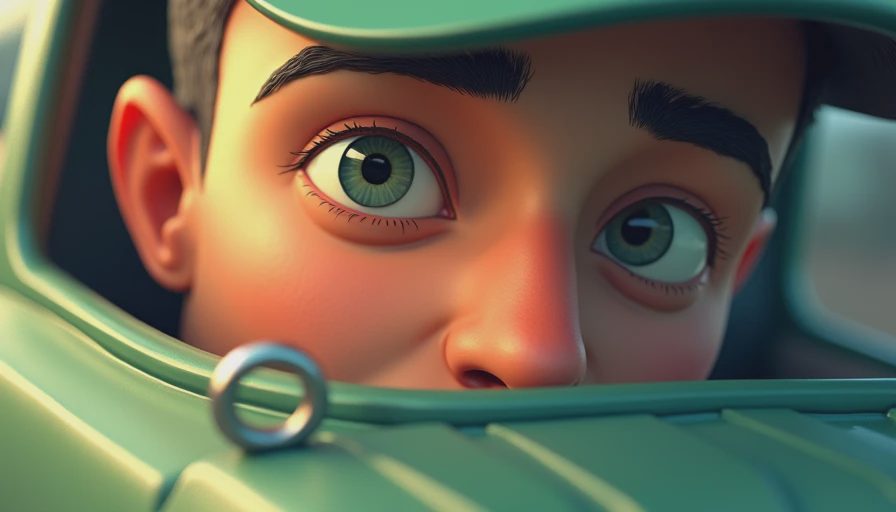
Old BMW shells often have corroded fasteners and distorted bumper mounts. Reusing every original screw may save an hour during mock-up and cost an entire weekend later. Replace damaged hardware with stainless or zinc-plated fasteners where appropriate, and use large washers on fiberglass so the load is spread across the panel. Rivnuts can create clean removable mounts, but install them in sound metal and verify that the tool has fully set each insert.
Avoid relying only on self-tapping screws at high-load points. A front bumper or splitter sees wind pressure, road vibration, and occasional contact with ramps. Use brackets tied into strong factory locations, especially near the bumper supports and subframe area. Keep fasteners accessible for future removal; a body kit that requires destroying the panel for service was not finished properly.
Before final tightening, measure side-to-side height at several points. A 5-millimeter difference at the front lip can be obvious when the car is parked on a level floor. Record your final bracket locations in the build journal, including bolt sizes and any spacers used.
Match the kit to the rest of the build
An e30 body kit looks intentional when the mechanical choices support it. Wheel offset, tire width, ride height, and alignment determine whether the new arches look purposeful or simply oversized. A wide flare over narrow wheels often leaves a toy-like gap, while a very low front lip can turn ordinary driveway ramps into a recovery operation.
Mock up the wheels before committing to the final bodywork. Check clearance with the suspension compressed and the steering turned. If you are adding flares, decide whether the installation will use a clean internal cut, visible hardware, or a blended seam. Each method has a different maintenance cost. Exposed bolts are easy to remove and fit a motorsport theme; blended panels look smoother but require more filler and paint work when damaged.
Paint preparation is another place to spend time. Wash mold-release residue from new plastic, scuff every surface consistently, and use a primer suited to the material. Fiberglass pinholes can appear after the first primer coat, so plan on repeated blocking rather than assuming the first smooth-looking pass is ready.
Budget the work in stages
A realistic e30 body kit budget includes more than the purchase price. Parts might cost $500 to $2,000 depending on material, coverage, and quality. Hardware and fabrication can add $100 to $400. Professional fitting and paint can range from about $1,500 for straightforward local work to several thousand dollars for extensive repair, blending, and custom color matching.
Break the project into checkpoints: inspect the shell, buy the parts, dry-fit everything, fabricate mounts, remove the panels, complete bodywork, paint, and perform final assembly. This sequence prevents you from paying for paint before discovering that a door cannot open or a tire contacts the bumper. It also makes a stalled project easier to restart because every decision is documented.
Do not forget daily usability. Leave room for ramps, jack stands, tow straps, and normal oil changes. A show car can tolerate more inconvenience than a car driven to weekend events. If the E30 sees public roads, make sure lighting, plate mounting, wheel coverage, and ground clearance remain compliant where you live.
Document the build as you solve it
The best e30 body kit information usually comes from the problems someone took time to record. Post measurements, photos of the original mounts, part numbers for hardware, and notes about where trimming was required. Include the mistakes: the bracket that sat 8 millimeters too high, the primer that reacted with the plastic, or the splitter that needed a different spacer after the first road test.
A useful build thread lets another owner compare your setup with theirs instead of copying a finished photo without context. Record the model year, body style, suspension height, wheel specifications, and whether the panels were painted separately or on the car. After a few hundred miles, update the thread with vibration, rubbing, cracking, and fastener checks.
A good e30 body kit is not defined by the most dramatic shape in a catalog. It is defined by clean gaps, strong mounts, sensible clearance, and a finish you can repair after real use. Measure twice, test-fit everything, and let the project take the time it needs. Post your build. We'll read the whole thing.


No comments yet.