Choosing the best underglow kit is less about chasing the brightest advertisement and more about building a lighting system that survives real driving. A polished install should look intentional from the side of the car, hide the hardware, avoid loose wiring, and keep working after rain, road grit, and a few trips over uneven pavement. For a long-term project car, the wiring and mounting method matter just as much as the LEDs.
Underglow can finish the visual theme of a build, whether the car is a lowered Honda Civic, a wide-body Mustang, a restored Volkswagen GTI, or a turbocharged Subaru. The trick is treating it like any other electrical modification. Plan the layout first, measure twice, and do not bury connections where you cannot service them later.
What makes the best underglow kit worth installing?
The best underglow kit usually starts with four components: durable light bars or flexible strips, a reliable controller, weather-resistant connectors, and a wiring harness with a properly sized fuse. Cheap kits often combine bright LEDs with thin wire and weak adhesive. That combination looks acceptable on day one but becomes a troubleshooting project after the first season.
Look for an IP rating on the light housings or strips. IP67 protection indicates resistance to dust and temporary water immersion, while IP65 generally covers dust and water jets but not immersion. Ratings apply to the tested component, not automatically to every connector in the box. The connectors still need proper sealing, heat-shrink protection, and sensible placement above the lowest splash zone.
Brightness is useful, but excessive output can make the car look unfinished. A good system produces an even pool of light rather than sharp hotspots under each diode. RGB and RGBW systems offer more control than single-color kits. RGBW adds a dedicated white channel, which generally creates cleaner white light than mixing red, green, and blue at full intensity. For a street-driven build, dimming and a low-brightness setting are more important than an extreme maximum output.
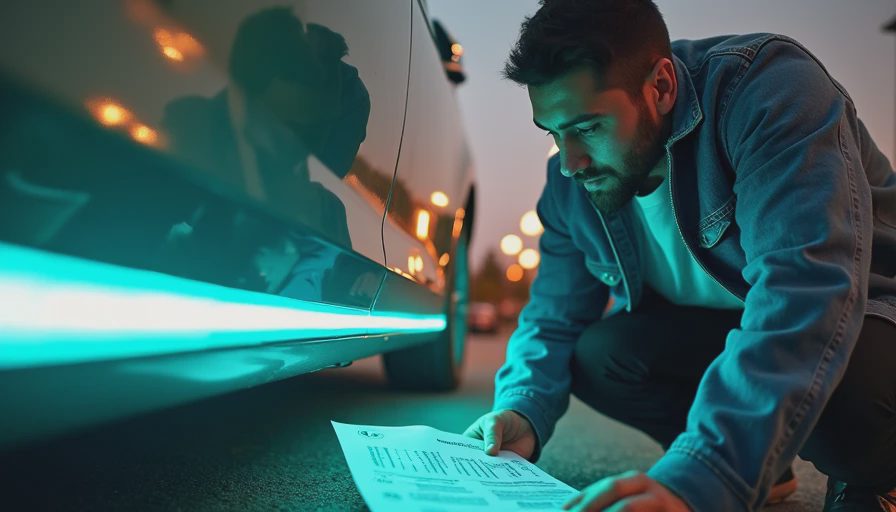
Choose the best underglow kit for your car’s layout
Before ordering the best underglow kit, measure the actual underside of the vehicle. Bumper shape, pinch welds, exhaust routing, suspension travel, and jack points all affect placement. A four-piece kit might work on a compact coupe, but a long-wheelbase sedan or truck may need additional segments to prevent dark gaps between the front, sides, and rear.
Light bars are often easier to mount in a straight line and can produce consistent illumination along a rocker panel. Flexible strips are useful around curved bumpers, but they need careful support. Do not rely on adhesive alone when the surface sees water, heat, and vibration. Small stainless clamps, rivet nuts, or brackets made from aluminum flat stock can create a serviceable mount without drilling into structural areas.
Keep the lights tucked behind the body line. The goal is reflected light on the ground, not visible diodes when someone looks directly at the car. On a low car, check suspension compression and steering lock before finalizing the side pieces. A light bar that clears the tire at rest can contact it when the suspension compresses. Leave room around exhaust components, catalytic converters, and mufflers because heat will shorten the life of nearby wiring and plastic housings.
Wiring the system without creating a future fault
Power planning separates a durable install from a weekend re-do. Most underglow controllers draw modest current, but the total depends on strip length and brightness. Run power from a fused accessory circuit or a dedicated fused lead from the battery. Place the fuse close to the power source, use wire appropriate for the expected load and length, and ground to clean, unpainted metal or a verified factory ground point.
A relay is useful when the lighting system is larger or when you want the controller powered by a low-current switch signal. The relay lets the switch or ignition circuit trigger the lighting load without sending all operating current through a small factory wire. Protect the harness with split loom, secure it with cushioned clamps, and keep it away from driveshafts, axles, steering parts, and sharp sheet metal.
For connections, sealed crimp terminals with adhesive-lined heat shrink are more dependable than twisting wires together and covering them with ordinary electrical tape. Leave a small service loop near each light so a connector can be unplugged without removing half the car. Label the controller input, output zones, ground, and accessory trigger before closing the harness. Five minutes of labeling can save an evening of tracing wires later.
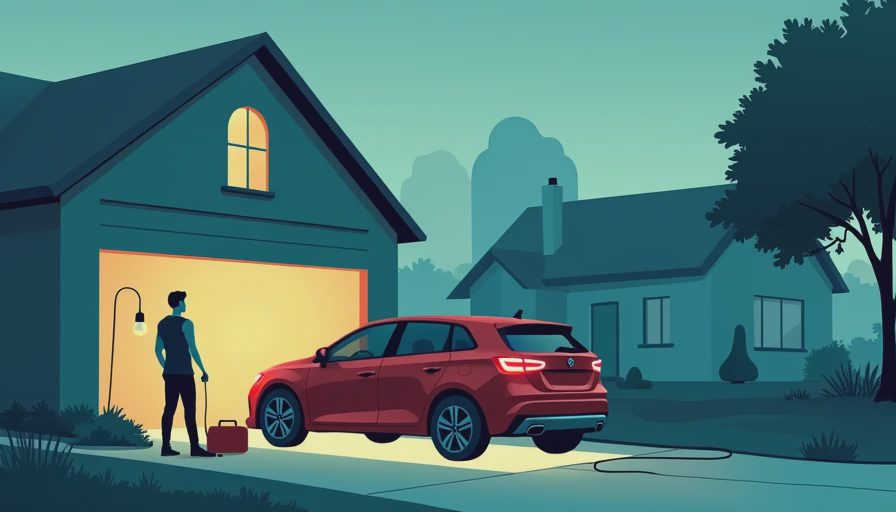
Controls, software, and daily usability
The best underglow kit should be easy to control without becoming a distraction. Many current systems use a wireless remote or a phone application for color selection, dimming, patterns, and music-reactive effects. App control is convenient during a show, but do not assume it is the only way to operate the lights. A physical on-off method is valuable if the phone is unavailable, the application changes, or Bluetooth pairing fails.
Avoid flashy modes during normal road use. A steady color or slow fade looks deliberate; rapid strobes and chasing patterns can attract unwanted attention and may be restricted by local rules. Red, blue, and other colors can also create confusion with emergency lighting in some areas. Check the regulations that apply where the car is driven, and ask your insurer whether a permanent lighting modification needs to be disclosed. Underglow does not replace required lamps, reflectors, or turn signals.
A quality controller should remember your last setting, resist accidental activation, and include a clean shutoff. If the car attends shows, save a few profiles: a subdued street setting, a bright display setting, and a single-color setting that matches the paint or wheel finish. This is where a more expensive controller can justify its price better than another few hundred lumens.
Installation sequence that prevents rework
Start with a clean, dry underside and photograph the factory routing before adding anything. Mock up every bar with painter’s tape, then inspect the car from several angles at night. This reveals gaps that are difficult to spot in the garage. Test steering lock, suspension clearance, jack placement, and access to oil drains before drilling or permanently bonding mounts.
Install the controller in a protected cabin or engine-bay location, depending on its weather rating. Route the main harness first, then branch to each light. Test every zone before wrapping the loom. Once the system works, secure the wiring at regular intervals and add abrasion protection anywhere it passes through a bracket or panel opening.
The best underglow kit will still fail if its installation ignores maintenance. Leave access to fuses and connectors, avoid covering identification labels, and keep a simple wiring diagram with the build records. Take a final nighttime photo and note the controller model, fuse rating, wire gauge, and mounting locations. That documentation turns a mysterious electrical problem into a short diagnostic session.
Where to spend money and where to save
Spend more on weather sealing, mounting hardware, the controller, and the harness. Those parts determine whether the system stays reliable. Saving $20 on brackets is reasonable if you can fabricate them correctly; saving money on undersized wire or unsealed connectors usually creates a false economy. Brands such as OPT7, XKGlow, and similar enthusiast-focused lighting companies offer different combinations of strip length, control features, and installation hardware, so compare the included parts rather than judging only the advertised color count.
You can also save by buying a kit that matches the car instead of oversizing the system. Extra length coiled under the vehicle creates another failure point and makes the install harder to hide. Measure first, choose the shortest complete layout that gives even coverage, and budget roughly $100 to $300 for a solid DIY system before tools or custom brackets. Professional installation can add several hundred dollars, especially when the car has a tight underside or a custom electrical setup.
For a serious build, the best underglow kit is the one you can mount cleanly, service later, and operate without compromising safety. Post your build, record the wiring decisions, and show the failed attempts along with the finished result. We’ll read the whole thing.


No comments yet.