An oil pan change looks simple until you are staring at a crossmember, exhaust pipe, steering rack, or a row of stubborn bolts blocking the way. On a project car, the job is rarely just removing one pan and installing another. You need to diagnose the leak, understand how the pan seals, protect the threads, and make sure the replacement does not create a new clearance problem. A careful oil pan change can stop a persistent drip and give you a clean baseline for the rest of the build.
Confirm the pan is actually the problem
Before ordering parts, clean the lower half of the engine with a degreaser and let it dry. Fresh oil from the valve cover, front crank seal, timing cover, oil filter housing, or turbo drain line can run downward and make the pan look guilty. Add a short drive or several minutes of warm idle, then inspect the highest wet point with a flashlight.
A dented pan is easier to identify than a sealing leak. Look for a flattened rail, impact marks, cracks around the drain plug, or oil collecting inside a skid plate. A small dent does not automatically mean the pan must be replaced, but it can reduce oil capacity or bring the pickup dangerously close to the pan floor. If the drain plug threads are damaged, replacing the pan is often more reliable than repeatedly installing oversized plugs.
The oil pan change becomes more involved when the leak is at the rear main seal or a joint above the pan. In that case, a new pan will not solve the problem. Take pictures before disassembly and mark the leak path in your build log. That record is useful when a repair takes two attempts instead of one.

Choose the replacement around the whole build
A factory pan is usually the safest choice for a street-driven car because its baffles, pickup clearance, drain location, and mounting points are already proven. Genuine Mazda, Honda, Ford, Subaru, Toyota, BMW, or Volkswagen parts can cost more, but fitment is normally more predictable. A quality aftermarket pan can work well too, especially for engines with known rust, cracking, or ground-clearance issues.
Compare the replacement against the old part on the bench. Check bolt-hole count, rail shape, sump depth, oil capacity, windage tray clearance, drain-plug size, and sensor ports. A performance pan with extra baffling may help during hard cornering, but it still needs to match the oil pickup and dipstick calibration. Do not assume a pan from a similar engine family is interchangeable.
For a modified chassis, measure the lowest point from the floor and inspect clearance to the subframe, sway bar, exhaust, and engine mount. A deeper pan can add capacity while also becoming the first thing to hit a speed bump. On a lowered car, the best solution may be a baffled stock-depth pan rather than the largest aftermarket sump available.
Prepare the car and remove the old pan
Support the vehicle on properly rated jack stands placed at approved structural points. Do not rely on a floor jack while pulling on a stuck pan. Remove the splash shield and drain the oil while it is warm enough to flow but not hot enough to burn your hands. Give the pan time to drain; trapped oil will spill when the seal breaks.
A typical oil pan change may require moving an exhaust section, starter, brace, or steering component. Photograph every bracket and use labeled bags for bolts. Factory fasteners can have different lengths, and a bolt that is too long can bottom out before the pan is tight. If the pan is bonded with sealant, use a dedicated separator tool or plastic wedge at the designed pry points. Never drive a screwdriver between the sealing rails and gouge the block.
Keep the pickup tube protected while the pan is off. This is the right time to inspect the pickup screen for sludge, silicone fragments, or metal. A dirty screen changes the repair from a cosmetic leak fix into an oiling-system inspection. If you find bearing material or glitter in the oil, stop and investigate before installing anything.
Clean the rails and apply the seal correctly
The most important part of an oil pan change is often the least dramatic: surface preparation. Scrape old sealant with a plastic razor or approved gasket scraper, then wipe both rails with a residue-free solvent. The block and pan must be dry, flat, and free of oil. Avoid aggressive sanding that rounds the rail or leaves abrasive dust inside the engine.
Use the gasket or sealant specified for the engine. Some applications use a molded rubber gasket, while others depend on a thin bead of RTV at carefully defined joints. More sealant is not better. Excess RTV can squeeze inside the pan and break loose, potentially reaching the pickup screen. Apply a continuous bead of the correct diameter, circle the bolt holes only when the service procedure calls for it, and observe the sealant's skin time before filling the engine.
Install bolts finger-tight first, then tighten in a crisscross or center-out pattern. Torque values are engine-specific, and many small pan bolts use surprisingly low numbers, often in the range of roughly 7 to 12 lb-ft. That is not a universal specification, so use the factory service manual for your exact engine. A torque wrench is cheaper than a warped rail or stripped aluminum thread.
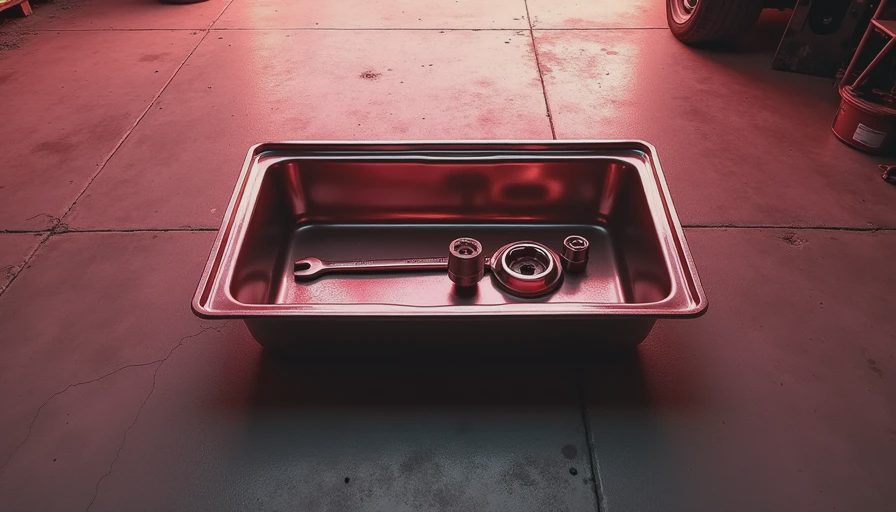
Finish the oil pan change without creating another leak
After the pan is torqued, reinstall the drain plug with a new crush washer if the design uses one. Inspect the plug threads and make sure the sealing surface is clean. Refit brackets, braces, exhaust parts, and splash shields in their original positions. Confirm that no wiring, oxygen sensor lead, or hose is touching the pan or exhaust.
Wait for the sealant cure period before adding oil if the product requires it. Then install the correct oil and filter, start the engine, and let it idle while you watch the rail, drain plug, and nearby joints. Shut it down, wait several minutes, and verify the level on a flat surface. Do not judge the repair only by looking underneath immediately after startup; some leaks appear after oil has warmed and thinned.
Drive a short loop, park over clean cardboard, and inspect the next morning. A few drops on the cardboard tell you where to look, while a completely dry surface gives you a useful baseline. Recheck the oil level after the first drive and again after several heat cycles.
Common mistakes that waste a weekend
The most common failed oil pan change starts with a rushed diagnosis. Another frequent mistake is reusing a flattened gasket, applying RTV over an oily rail, or tightening one corner fully before the rest of the bolts are seated. These shortcuts can create a leak that looks exactly like the original problem.
Avoid hanging from the pan with a pry bar, especially on an aluminum block. Do not use an impact gun for final tightening. Do not add thread locker to bolts unless the service procedure specifies it, and do not substitute random hardware because the original fasteners look ordinary. Pan bolts often control clamping load and clearance around internal components.
If the pan will not separate after every fastener is removed, stop and inspect the transmission side, front cover, and hidden braces. Many engines have one easily missed bolt or a sealant joint that needs a deliberate release. Patience here protects expensive castings.
Document the repair for the next stage
Record the part number, gasket or RTV product, torque sequence, oil type, filter, mileage, and photographs of the old pan. Note whether the pickup screen was clean and whether any unusual metal appeared in the drained oil. That information matters when you later tune the engine, install a baffled pan, or troubleshoot oil pressure.
A good oil pan change is more than stopping a drip. It is an opportunity to verify the bottom end, improve ground clearance, replace questionable hardware, and establish a clean reference point for future diagnostics. Take your time, use the correct manual, and treat the sealing rail like a precision surface. Post your build. We'll read the whole thing.



No comments yet.