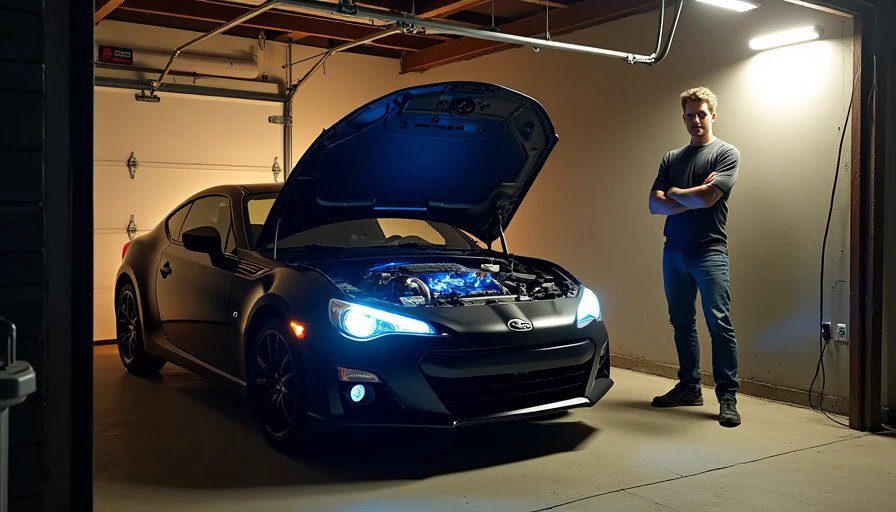
It's 11:47 PM on a Sunday. I'm sitting in my garage, smelling of gasoline and burned solder, and my 2013 BRZ – now with a 6.2L LS3 from a 2012 Camaro SS – is idling smoothly on its own. No jumper cables, no starter fluid, just the key and a prayer. The exhaust note bounces off the walls and I'm pretty sure my neighbors hate me, but I don't care. It's alive.
But getting here? Man, it was a haul. The mechanical part – engine mounts, transmission crossmember, custom driveshaft, modified oil pan, and a narrower intake manifold – took about 10 months. I can weld (barely) and I have a lift (rented), so that was hard but predictable. What nearly broke me was the wiring. Everyone says "use a Holley Terminator X – it's self‑contained and simple." And it is simple – if you're building a standalone race car with no factory body computer, no gauges, no electric power steering, no ABS, and no airbag system. But I'm building a street‑legal car that still has headlights, turn signals, a working instrument cluster, and a fuel pump that primes when I open the door. So I had to make the Holley and the BRZ's BCM (body control module) play nice together.
Six weekends. Twelve days of testing continuity, pulling fuses, watching YouTube videos from guys who spoke with thick Australian accents, and praying I didn't fry the Holley or the BCM. I went through three rolls of electrical tape, 50 feet of heat shrink, and a pack of relays from AutoZone. But in the end, I built a spreadsheet with every single wire connection – and I'm sharing it here for free, because no one should have to do this from scratch.
The Build at a Glance
Car: 2013 Subaru BRZ Premium (6‑speed manual)
Engine: 2012 Camaro SS LS3 – 6.2L, 430 hp, 425 lb‑ft, stock cam, untouched internals
Transmission: Tremec TR6060 – from a 2010 Camaro SS, rebuilt with a shorter shifter
ECU: Holley Terminator X (PN 550‑937) – not the HP or Dominator, just the base Terminator X
Engine harness: Holley's universal LS main harness (terminated with EV1 injector plugs – I converted to LS3 style)
Chassis harness: I modified the factory BRZ harness – removed the ECU and all engine-related wiring, but kept the BCM, instrument cluster, headlights, taillights, and ABS.
Cooling: Aftermarket 2‑row aluminum radiator with dual Spal fans
Fuel: Walbro 450 pump in a modified hanger, return‑style fuel system with a Corvette regulator/filter
The Wiring Philosophy
Here's the key insight: the Holley Terminator X is a standalone engine controller – it needs:
Constant +12V battery (for memory)
Switched +12V ignition (to turn on)
Ground (multiple, to the engine block and chassis)
Crank signal, cam signal, and all engine sensors (MAF, MAP, TPS, IAT, ECT, O2)
Outputs for fuel pump, cooling fans, starter relay, and tachometer
The BRZ's BCM handles everything else – lights, wipers, door locks, and most importantly, the immobilizer (which I deleted via tune) and the instrument cluster (which receives CAN messages from the original ECU). Without the original ECU, the BCM doesn't know what to display. So I had to either:
Keep the original BRZ ECU plugged in (but that's impossible because it doesn't know how to drive the LS3), or
Feed the BCM the CAN signals it expects – engine RPM, coolant temperature, vehicle speed, etc.
I chose the second route: I used the Holley's CAN output (which can broadcast generic J1939 or OBD‑II messages) and a CAN bridge module (from a company called "Digital Guard Dawg") to translate Holley's CAN into the Subaru protocol. That was a rabbit hole. But I eventually got RPM and coolant temp to show up on the dash – after I configured the Holley's CAN IDs correctly.
However, the tachometer signal – the old‑school analog pulse – was the biggest headache. The BRZ cluster expects a 5V square wave from the original ECU, with a specific pulse per revolution. The Holley outputs a low‑voltage (0‑5V) tach signal that I couldn't get to register. I added a 1kΩ pull‑up resistor to +12V, and suddenly it worked. That one resistor cost $0.05 and took me three days to figure out.
BRZ BCM connections I kept intact (not to Holley):
Function | BRZ wire color | Notes |
|---|---|---|
Headlights | Red/Yellow | Left alone – BCM controls them |
Turn signals | Green/White | Left alone |
Brake lights | White/Black | Left alone |
ABS module | – | Kept unpowered for now – will integrate later |
Electric power steering | – | Needs CAN signal from Holley – I used bridge |
Instrument cluster | – | Used CAN bridge for RPM, temp, speed |
The Six‑Weekend Saga – Key Learnings
Weekend 1 – Mapping and removal: I stripped the entire factory engine harness – it's massive. I labeled every connector with painter's tape and took hundreds of photos. The BRZ has a surprisingly complex wiring system – there's a separate harness for the injectors, coils, O2 sensors, and the ECU itself. I traced every wire from the ECU to its destination. That alone took 20 hours.
Weekend 2 – Power and grounds: I installed the Holley fuse/relay block and routed the main +12V and ignition wires. I learned that the Holley needs a clean ignition signal – tapping into a wire that also powers the radio causes voltage drop. I ended up running a dedicated wire from the ignition switch. Also, the BRZ has a "starter cut" relay that interlock with the clutch pedal – I had to jump that relay to get the starter to work with the Holley's output.
Weekend 3 – Fuel pump and fans: The BRZ's fuel pump relay is controlled by the BCM, but the BCM expects a PWM signal from the old ECU to modulate pump speed. I bypassed that by running a new relay directly from the Holley fuel pump output – I just used the old relay's coil trigger wire to fire a new relay that sends +12V to the pump. The fans – I wired them with a separate thermo switch but ultimately used the Holley's fan outputs with a solid‑state relay.
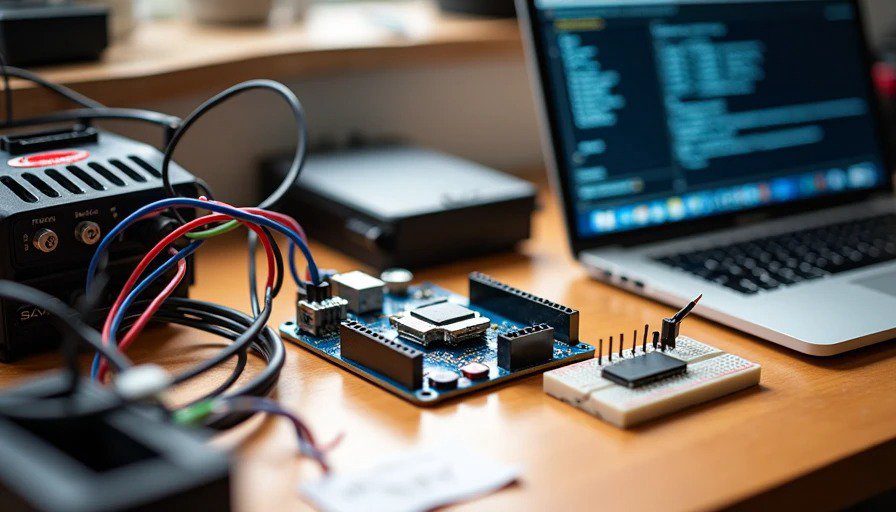
Weekend 4 – Sensors and CAN: This was the nightmare. The Holley's CAN bus can talk to many aftermarket dashes, but not Subaru. I bought a cheap Arduino‑based CAN sniffer to record the messages from the original BRZ ECU before I removed it. Then I programmed a CAN bridge (using a Teensy 4.0) to read the Holley's CAN messages and retransmit them in the Subaru format. There's an open‑source library called "subaru_can" that helped. After 16 hours of coding and testing, I got RPM and coolant temp to appear. I haven't figured out vehicle speed yet – that's for next month.
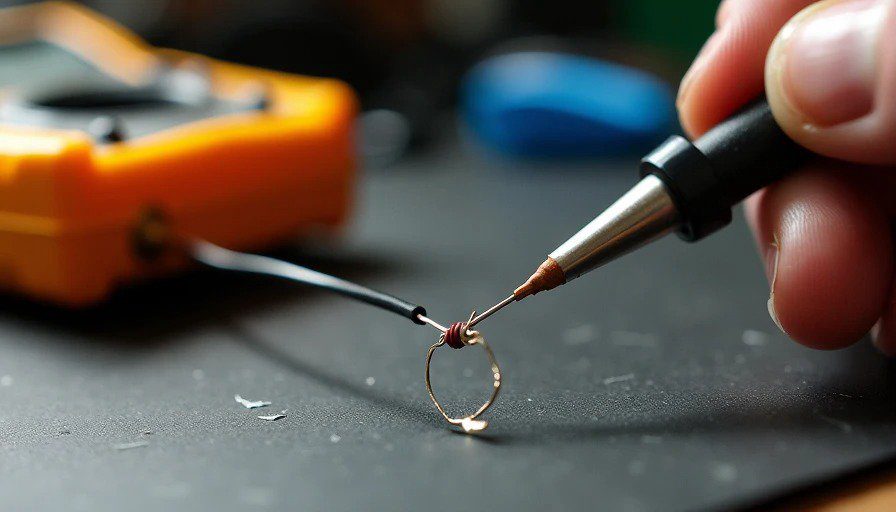
Weekend 5 – Tachometer and clutch switch: The tach signal was dead. I measured the Holley output at 0‑5V square wave, but the cluster needs 5V with a pull‑up to 12V (weird, right?). I soldered a 1kΩ resistor between the tach signal and a +12V ignition source – instant success. The clutch switch – the BRZ won't start unless you press the clutch. I kept that switch but wired it in series with the Holley's starter relay ground, so the Holley only grounds the relay if the clutch is depressed. That was straightforward.
Weekend 6 – Startup and debug: I double‑checked every connection with a multimeter. I primed the fuel system, turned the key, and... nothing. Click. No crank. Spent two hours re‑checking the starter relay – it was a bad ground. Fixed that, turned key again, and the engine turned over for about three seconds before the Holley gave it fuel and fire. It started with a roar, stumbled, and died. After adjusting the base idle screw and the IAC (idle air control) positions, it held an idle at 1,000 RPM. Then I dialed it down to 850 – smooth as silk.
What I'd Do Differently
Buy a pre‑wired harness – There are companies (like Wiring Specialties) that make direct plug‑in harnesses for LS swaps into BRZs – they're $1,000+ but would have saved me six weekends. If you value your time, buy it.
Get a CAN bridge that's already coded – The CAN bus integration is the hardest part. I'd buy a commercial CAN translator if it existed (I think a few are in development).
Use a Holley Terminator X Max – It has better fan control and more inputs – I wish I'd spent the extra $300.
The Moment of Truth
When it finally idled – no misfires, no check engine light (on the Holley handheld), and the oil pressure gauge read 42 psi – I just sat there and laughed for a full minute. The car shakes a little at idle, the steering wheel vibrates, and the exhaust note is a deep, rhythmic rumble. It's not a refined car anymore – it's a brute. And I love it.
Next steps: finish the exhaust (full 3" with cats), install the drive shaft, and go for a test drive. I'll update this thread with driving impressions and any new wiring gremlins that appear.
My Gift to You – The Spreadsheet
I've uploaded my full pinout spreadsheet as a Google Sheet (link in my signature). It includes every wire color, connector location, and photos of each splice. I also have a version with all the Holley CAN configuration settings. I'll keep it updated as I add more features.
Please, if you're attempting this swap, use my sheet as a starting point – but always verify with your own multimeter. And if you find an error, let me know – I'll fix it and credit you.
Ask Me Anything
I'll be checking this thread for the next few weeks. If you have questions about specific wires, the CAN bridge, or the mechanical side, fire away. I'm not an expert – I'm just a guy who spent too many nights in a garage – but I'll share everything I learned.


No comments yet.