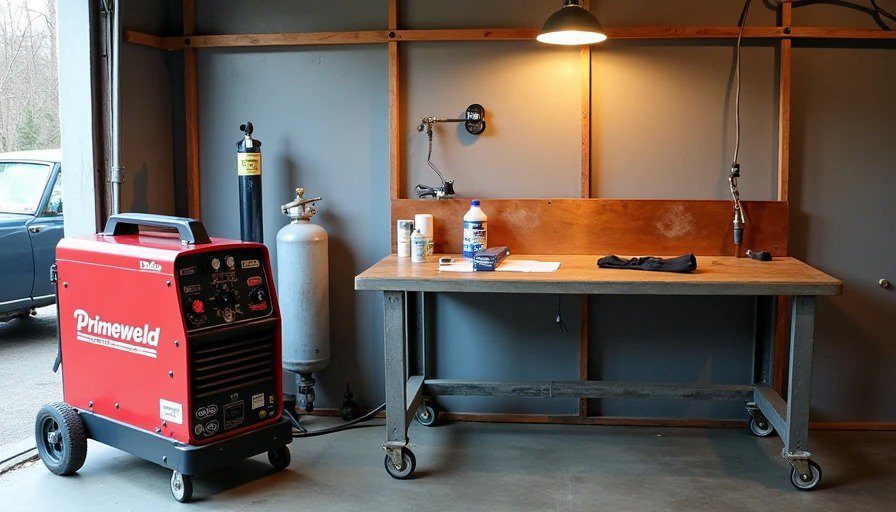
I’ll start with the question everyone asks when they first see a TIG torch: “Can I really do this in my attached garage, plugged into the same outlet as my fridge?”
The honest answer is no – but you can do it in the same garage if you’re willing to spend $200 on an electrician and $1,500 on a welder. The romantic image of a hobbyist fusing thin aluminum sheet with a $400 inverter machine on 110V is a fantasy pushed by YouTube influencers who don’t show you the power cord tripping the breaker every 30 seconds.
I’m an average home gamer – I’ve restored a few cars, built a roll cage, and welded plenty of mild steel with my Hobart Handler 140. When I decided to fabricate an aluminum coolant expansion tank and some intercooler piping for my project car, I thought, “How hard can it be?” I bought a cheap 110V DC TIG with HF start – and I returned it within a week. That experience, plus two years of actual successful aluminum welding in my single‑car garage, taught me exactly what works and what doesn’t.
So let’s cut through the marketing fluff and give you a real‑world blueprint.
Part 1: The “Realistic” Test – Three Questions to Ask Yourself
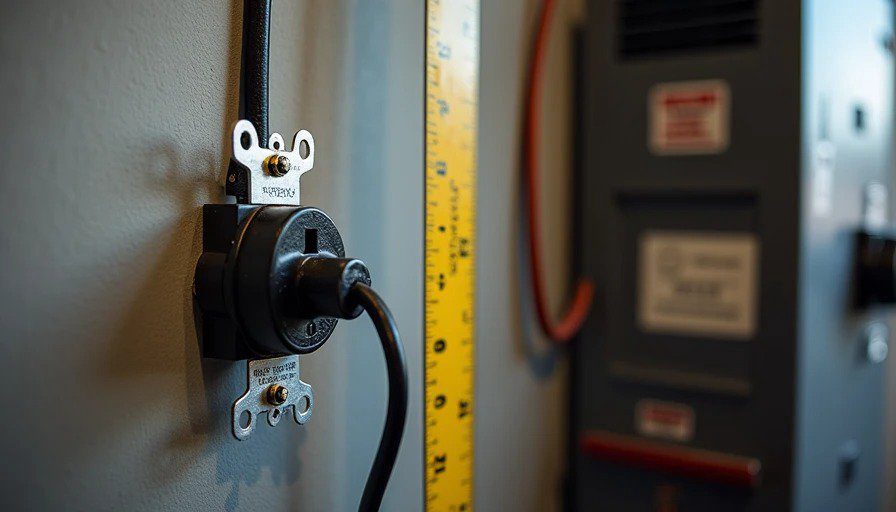
Before you buy anything, answer these:
Do I have a 240V outlet within 25 feet of my workbench?
If you have a dryer plug (NEMA 14‑30 or 10‑30) or a stove outlet (14‑50), great. If not, you’ll need an electrician to install a dedicated 50‑amp breaker and outlet – expect $200‑500 depending on your panel and distance.
Why 240V? Aluminum welding needs high amperage to break the oxide layer. For 1/8” (3mm) aluminum, you’ll need about 150‑180 amps peak – and a 110V circuit maxes out at about 20 amps (2,400 watts), which translates to maybe 100‑120 welding amps on a good day. That might fuse 1/16” sheet, but it’ll be miserable, with no penetration and a stuck tungsten every time.
Am I willing to spend at least $1,200 on the welder itself?
Yes, you can find used transformer machines (like a Syncrowave 200) for $800‑1,000, but they’re heavy and need high input current. New inverter AC/DC TIGs (e.g., AHP AlphaTIG, Primeweld TIG225, Eastwood TIG200) run around $1,200‑1,500 and are excellent for home use. Anything under $800 that claims “AC/DC” and “aluminum capable” is almost certainly a DC machine with pulse – it won’t clean the oxide.
Can I afford the ancillaries (gas, consumables, filler, etc.) that add up to $500‑700?
Many first‑timers budget only for the welder and forget the bottle of argon (about $300 for a 125cf tank filled, plus deposit), a flowmeter, tungsten (2% lanthanated, 3/32” is my go‑to), filler rods (4043 or 5356), a dedicated stainless steel brush, acetone, and a foot pedal (some machines include it, some don’t). Add a dedicated grinding wheel for tungsten sharpening – never use your bench grinder that’s seen steel.
If you answered yes to all three, you’re ready. If not, consider outsourcing your aluminum work – it’s cheaper and less frustrating.
Part 2: The Minimum Viable Setup – What I Actually Use
After two years of trial and error, here’s my exact kit:
Item | Brand/Model | Cost (approx.) | Notes |
|---|---|---|---|
Welder | Primeweld TIG225 AC/DC (inverter) | $1,350 (shipped) | Comes with CK Worldwide torch, foot pedal, flowmeter – best value for home use. 225A max, runs on 240V 50‑amp input. |
Gas bottle | 125cf 100% Argon (local welding supply) | $280 (filled, lease? I own mine) | Buy, don’t lease – pays off in 2 years. Get 125cf minimum – a 40cf tank lasts maybe 2 hours of weld time. |
Tungsten | 3/32” 2% Lanthanated (blue) – pack of 10 | $35 | Grind to a point with a flat tip for AC. |
Filler rod | 4043 aluminum – 3/32” diameter, 1 lb tube | $25 | For general purpose – good for cast and wrought. 5356 if you need higher strength or saltwater exposure. |
Stainless brush | Dedicated, never used on steel | $10 | Also get a flap disc for aluminum (but be careful). |
Acetone | 1 gallon | $20 | For cleaning – essential. |
Gloves & helmet | Auto‑darkening (already had) | – | Use a shade 10‑11. |
Adapter plug | NEMA 14‑50 to whatever your machine uses | $20 | I built my own extension cord from 8‑gauge SOOW cable – cost $60. |
Welding table | Homemade steel table with a copper backplate | $50 in scrap | Copper backing stops blow‑through and helps cool. |
Total setup cost: ~$1,850 – which is a lot, but it’s a one‑time investment that also lets you weld steel with DC (and the Primeweld does stick as well).
Part 3: The Power Puzzle – 110V vs. 220V in a Real Garage
Let me be brutally clear: you cannot weld 1/8” aluminum on 110V. I tried. With the cheap DC TIG, I could barely get a puddle on 0.060” sheet after preheating with a propane torch. The machine would max out at 90 amps, the high‑frequency arc was unstable, and I tripped the breaker twice per bead.
For 1/8” (3.2mm) aluminum, you need 170‑190 amps to start the puddle quickly – because aluminum conducts heat away 5× faster than steel. If you dwell too long, you heat the entire part and warp it. With 110V, you’re limited to about 120 amps if you have a dedicated 20‑amp circuit (and most garage outlets are 15‑amp). That means you’ll sit there waiting for a puddle, burn through your tungsten, and contaminate the weld.
If you absolutely must weld thin (<0.080”) aluminum and you have a 20‑amp 110V circuit, there are a few inverters that claim to do it (e.g., the AHP AlphaTIG 200X can run on 110V with reduced output – around 130A). I’ve seen people weld 1/16” sheet with that, but it’s marginal. For any structural or thickness >1/16”, you need 240V.
My electrical setup: I ran a dedicated 50‑amp breaker from my panel to a NEMA 14‑50 outlet near my garage workbench. The wire is 6/3 copper – overkill, but safe. Total cost was $350 for parts and an electrician’s half‑day labor. I also built a 25‑foot extension cord using 8‑gauge SOOW with the correct plugs – that was another $80. Yes, it’s an extra expense, but it means I can weld at full 200A without dimming the lights.
Part 4: Machine Features You Actually Need vs. Nice‑to‑Haves
Not all AC TIG welders are equal. Here’s what’s essential for aluminum:
AC output with adjustable balance: The “balance” controls how much time the electrode is negative (cleaning) vs. positive (penetration). For dirty or cast aluminum, you want more cleaning (60‑70% negative). For clean sheet, less cleaning (40‑50%). My Primeweld has a knob – I set it around 65% for most work. Without balance control, you’ll either have a weak puddle or a black, sooty mess.
High‑frequency (HF) start: Mandatory. Scratch‑start TIG on aluminum is a nightmare – you’ll contaminate the tungsten every time. HF lets you start the arc without touching the work – clean and precise.
Pulse (optional but helpful): Pulse reduces heat input and helps with thin material. I use it for 0.080” sheet, but for 1/8” I don’t bother.
Foot pedal or fingertip control: You need variable amperage control – aluminum puddles need a sudden burst of current to wet in, then you back off. A foot pedal is far superior to panel‑setting. Some budget machines omit the pedal – don’t buy them.
Water cooling (not needed for home use): Unless you’re welding >1/4” plate for hours, air‑cooled torches are fine. My CK 17 torch gets warm after 15 minutes but handles 180A fine. Save the $500.
Do not buy:
DC‑only TIG (won’t weld aluminum at all without helium, which is expensive and tricky).
MIG with a spool gun – yes, it can weld aluminum, but it’s messy, prone to porosity, and you can’t do fine work like intercooler pipes or brackets. I have a spool gun and I’ve used it exactly twice – then I bought a TIG.
Part 5: The Real Skill – It’s 90% Cleaning and Preparation
Every failed aluminum weld I’ve seen in a home garage was due to contamination – not technique.
Aluminum forms an oxide layer (Al₂O₃) that melts at 3,700°F, while the base metal melts at 1,200°F. The AC arc scrubs the oxide, but if you have oil, grease, or dirt, the arc can’t do its job. Here’s my ritual:
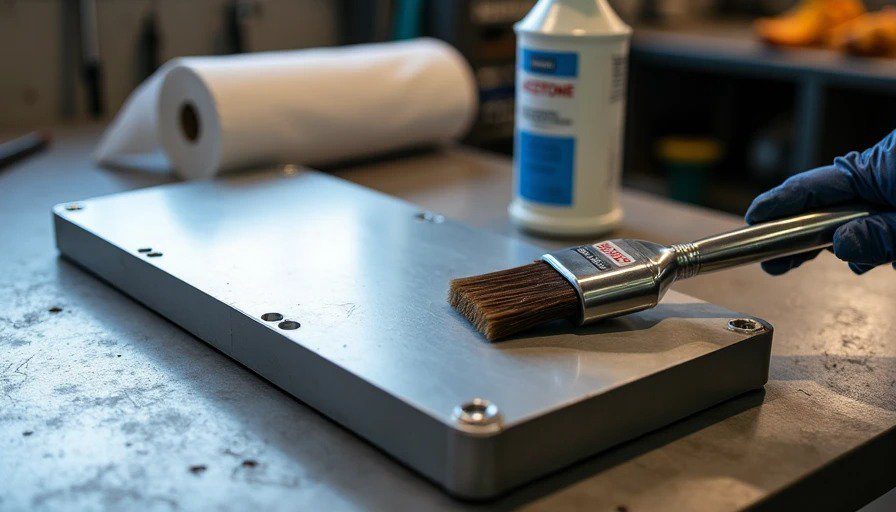
Degrease with acetone or a dedicated aluminum cleaner – wipe with a clean paper towel until no black residue appears.
Wire brush with a stainless brush – only in one direction, never back‑and‑forth – to break the oxide. Use a brush that has never touched steel – steel particles get embedded and cause porosity.
Wipe again with acetone.
Store the cleaned parts in a clean bag if you won’t weld immediately – oxide reforms in hours.
Also, for thicker sections (1/8” and up), preheat with a propane torch to about 250‑300°F – this reduces the current demand and helps the puddle form quickly. I use a simple infrared thermometer.
Tungsten prep: Grind your 3/32” tungsten to a point with a flat tip (about 1/16” flat) – for AC, a slightly blunted point creates a more stable arc. Sharpen only with a dedicated grinding wheel – contamination from steel grit will cause arc wander.
Part 6: Three Common Failures That Have Nothing to Do With Your Welder
Even with perfect gear, I made these mistakes repeatedly:
Inadequate gas flow – I started with 10 CFH. Needed 15‑20 CFH for aluminum, with a gas lens. Also, too much flow (over 30 CFH) causes turbulence and draws in air. Use a gas lens cup – it gives a laminar flow and makes a huge difference on fillet welds.
Wrong filler rod – Using 4043 on cast aluminum? It’s fine, but if you plan to anodize, use 5356 (4043 turns dark). For high‑heat applications, 4043 has lower cracking resistance – I switch to 5356 for turbo plumbing.
Moving too slow or too fast – Aluminum puddle looks like a shiny silver coin. If it looks gray and sooty, you’re either too cold (lack of cleaning) or the tungsten is dipped. The key is to add filler at the leading edge of the puddle, not behind it – you have to watch the surface tension.
Part 7: My Advice – Realistic or Pipe Dream?
Realistic – with caveats. If you have 240V, $2,000 budget, and patience to practice on scrap for a month, you can weld aluminum in your home garage. I’ve done it for coolant tanks, intercooler piping, and even a custom intake manifold. But if you want to weld 1/4” plate or make structural suspension parts – you’ll need a bigger machine (300A+) and water cooling.
For 90% of home car modifiers – who need brackets, small water/air pipes, coolant reservoirs, and light structural repairs – the setup I described is perfect. It’s not a pipe dream; it’s a hard‑earned reality that requires a real commitment to your electrical infrastructure and a willingness to fail.
If you don’t want to invest that much, consider this: find a local fab shop and pay them for your aluminum needs. You’ll get perfect welds for less than the cost of a welder, and you’ll save weeks of frustration. But if you’re like me and you want the control, the satisfaction, and the ability to modify on a Tuesday night – go for it.
My final checklist before you buy:
✅ 240V outlet installed (or you’re an electrician)
✅ Budget > $1,800 all‑in
✅ You have space for a gas bottle (tall and heavy – strap it to the wall)
✅ You’re ready to spend 5 hours practicing on scrap before your first real part
✅ You accept that your first few welds will look like bird droppings
If all that checks out – welcome to the club. You’ll never look at a aluminum intercooler pipe the same way again.

No comments yet.