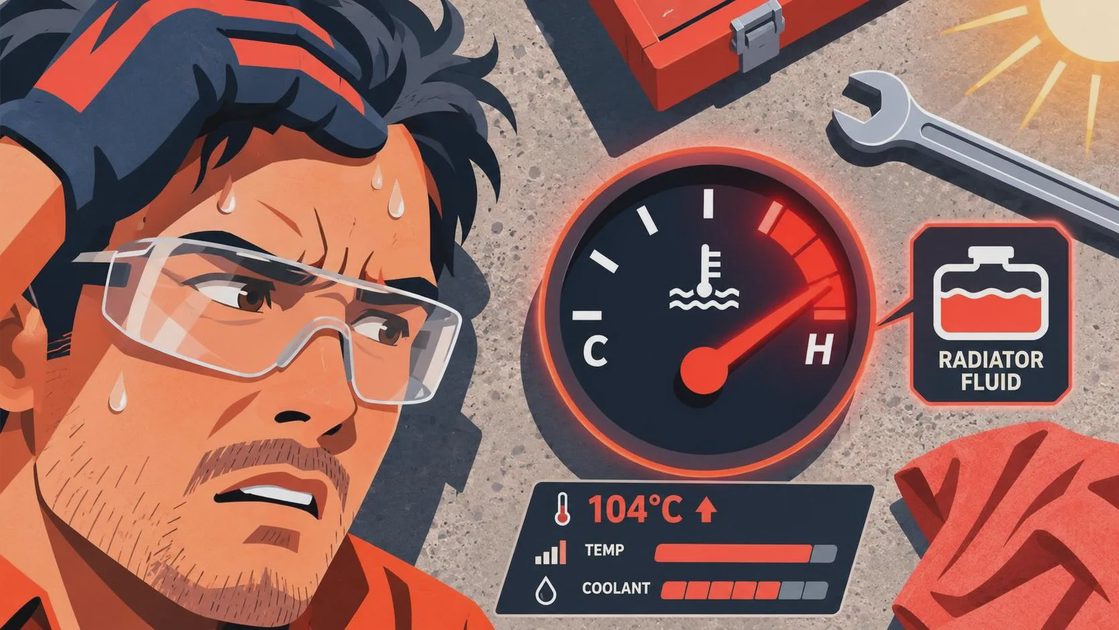
Losing radiator fluid no leak is one of those problems that can make a solid project car feel haunted. The expansion tank drops, the temperature gauge starts acting differently, and yet the floor under the car stays dry. Before replacing random parts, treat the cooling system like a circuit that is losing pressure somewhere. Coolant can escape externally, enter the engine, or leave as vapor through an overflow or small hot leak.
The first move is to record the evidence. Mark the coolant level on the reservoir with a paint pen, note the engine temperature, and write down how many miles pass before the level changes. Do not rely on a quick glance after parking. A leak that appears only at 220 degrees Fahrenheit can evaporate from the block or splash onto a hot exhaust component before it reaches the ground.
Start with a cold-system inspection
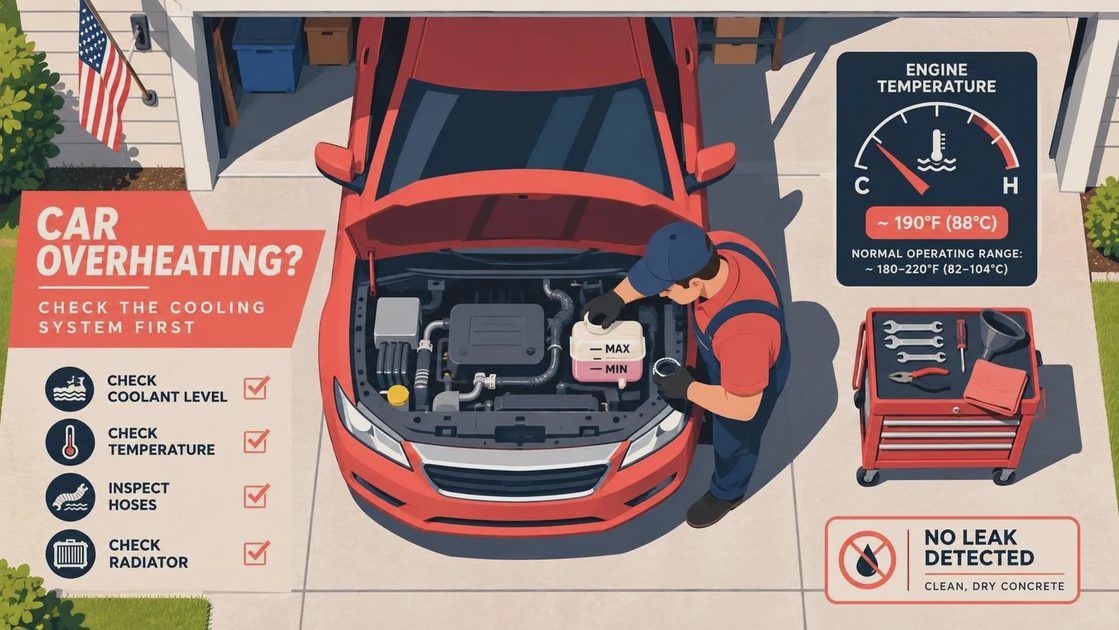
Only inspect or open the radiator cap when the engine is completely cold. A pressurized cooling system can cause serious burns. With the car parked level, check the radiator itself if it has a cap, the expansion tank, upper and lower hoses, heater hoses, thermostat housing, water pump area, and freeze plugs. Look for dried coolant residue rather than only wetness. Green, pink, orange, blue, or yellow crust around a hose neck is often more useful than a puddle.
Use a bright inspection light and a small inspection mirror. Follow each hose connection with a fingertip, looking for a tacky film or a clean track through accumulated dust. Check the radiator side tanks and the seam between the plastic tank and aluminum core. On older BMW, Volkswagen, Subaru, and domestic platforms, those seams and plastic flanges are common aging points. A cooling system can lose a few ounces during a drive without leaving enough fluid to drip in the garage.
Inspect the cabin too. A sweet smell from the vents, greasy film on the windshield, damp carpet near the passenger footwell, or fogging glass can point to a leaking heater core. This is still losing radiator fluid no leak from the outside; the coolant is simply collecting inside the car or leaving through the HVAC case.
Pressure-test the system before guessing
A cooling-system pressure tester is the best first tool for a hidden external leak. Many auto parts stores loan these kits, and dedicated enthusiasts can buy a basic hand pump with adapters for roughly $50 to $100. Fit the correct adapter, pump to the pressure printed on the radiator cap or service information, and never exceed the system's rated pressure just to force a result.
Watch the gauge for 10 to 20 minutes. A healthy system should hold pressure with only a very small change as temperatures equalize. If the gauge falls, inspect every connection while the system is pressurized. Some leaks show up only around the water pump weep hole, thermostat seal, radiator seam, or hose clamp. Place clean cardboard below the engine and use a mirror to find drops on the subframe.
Do not confuse a bad radiator cap with a major engine fault. A weak cap can release coolant at a lower pressure and send it into the overflow bottle or onto the ground as steam. Replace it with the correct pressure rating, not simply the highest-rated cap that fits. If pressure drops but no external leak appears, the next test should target internal loss.
Rule out combustion gases and internal leakage
A combustion-leak tester, often called a block tester, checks for exhaust gases in the coolant. With the engine warmed according to the tool instructions, draw vapor from the radiator neck or expansion tank through the test fluid. A color change suggests combustion gases are entering the cooling system through a head gasket, cracked cylinder head, or damaged block.
Other clues include repeated bubbles in the expansion tank, an unusually hard upper hose shortly after a cold start, unexplained overheating, white exhaust after warm-up, rough running at startup, or coolant pushed out of the reservoir. None of these signs proves a head-gasket failure by itself, but the combination deserves a compression test, leak-down test, or borescope inspection.
If you are losing radiator fluid no leak and one spark plug looks unusually clean compared with the others, coolant may be entering that cylinder. On a turbocharged build, also consider a failed oil cooler, intake-manifold gasket, or turbocharger coolant passage depending on the engine design. Check the engine oil for a milky appearance, but remember that short trips can create harmless condensation under the oil cap. Data from several tests is stronger than one dramatic symptom.
Check the water pump, thermostat, and overflow path
A water pump can leak only while its pulley is spinning and the system is hot. Dried residue around the pump housing or timing-cover area is a strong clue. Some pumps use a plastic impeller that breaks apart without an obvious external leak, reducing circulation and causing overheating. Other pumps have a bearing that lets the pulley wobble, damaging the seal over time.
The thermostat housing deserves the same attention. Plastic housings can warp, aluminum housings can corrode, and replacement gaskets can pinch during installation. Use the exact gasket and tightening sequence for your engine. Over-tightening small housing bolts can distort the flange and create a leak that returns after every repair.
Follow the overflow hose from the radiator neck to the reservoir. A split hose, blocked return passage, or cracked reservoir can let coolant escape as steam. If the reservoir is overfilled, normal expansion can push fluid out of the vent and make the loss appear mysterious. Set the level between the marked lines when cold, then recheck it after a complete heat cycle.
Use UV dye when the leak is still hiding
If pressure testing finds a slow external leak, add cooling-system UV dye approved for antifreeze and run the car through the conditions that normally cause the loss. After the engine cools, use a UV inspection lamp and yellow glasses to trace the glowing residue. Dye can reveal a pinhole in a radiator, a heater-core connection, or a water-pump seal that is impossible to see with ordinary lighting.
Clean old residue first so the result is not confused by previous spills. Protect belts and electrical connectors from unnecessary spray, and keep the dye amount within the product instructions. UV dye is a locator, not a repair. Replace the failed hose, gasket, radiator, cap, or pump, then flush away contaminated coolant and refill with the mixture specified for the engine.
For a modified car, check the plumbing added during an intercooler, oil-cooler, heater-delete, or turbo conversion. Every extra adapter and clamp creates another failure point. Losing radiator fluid no leak after a recent build often means a fitting is slightly misaligned, a hose is rubbing through, or a clamp is positioned behind the sealing bead.
Finish the diagnosis before driving hard
After the repair, bleed the system using the vehicle's correct procedure. Air trapped near the thermostat or cylinder head can cause unstable temperatures and make the reservoir level change during the first few heat cycles. Run the heater, monitor the gauge, inspect for leaks, and allow the engine to cool completely before setting the final level.
Keep a simple build log with the date, coolant type, pressure-test result, cap rating, replaced parts, and temperature behavior. If you are losing radiator fluid no leak again after pressure testing and UV inspection, stop hard driving and arrange a combustion-gas test or professional cooling-system diagnosis. A $40 test is cheap compared with warped heads, damaged bearings, or a full engine rebuild.
The right approach is systematic: measure the loss, inspect cold, pressure-test, test for combustion gases, and verify the repair through multiple heat cycles. That process beats throwing a radiator, thermostat, and water pump at the car in sequence. Post your build, include the engine code, recent modifications, pressure readings, and photos of the residue. We'll read the whole thing.


No comments yet.