The 2UZ-FE engine swap compatibility and wiring harness tips that save a project usually come from checking details before the engine reaches the stand. Toyota's 4.7-liter iron-block V8 is tough, affordable, and supported by a deep parts market, but it is not one universal plug-in package. A 1999 truck engine, a later drive-by-wire Lexus engine, and a 2005 electronic-throttle assembly can require different sensors, ECUs, fuel systems, and immobilizer solutions. Treat the swap as a complete electrical and mechanical system, not just an engine purchase.
Choose the right 2UZ-FE before buying parts
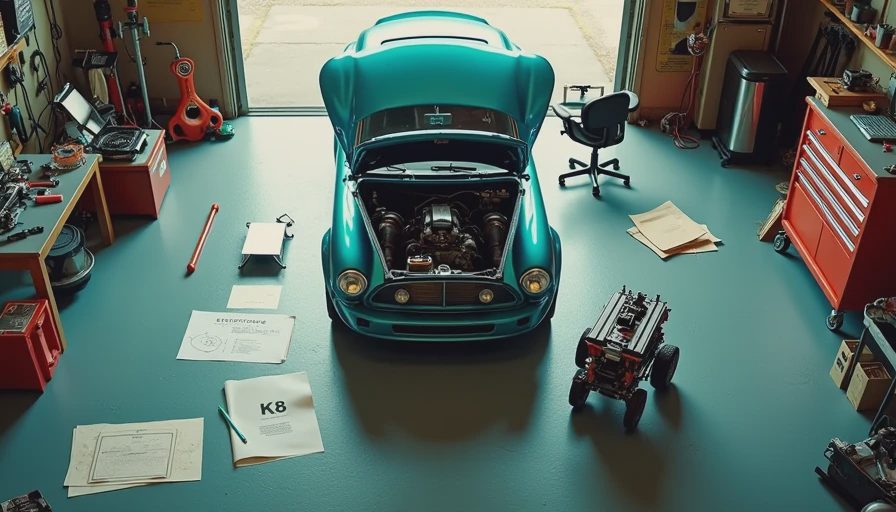
Start with the donor identification. Record the engine year, donor model, transmission, ECU part number, throttle type, and whether the engine uses a crank-position sensor arrangement that matches your intended controller. Early 2UZ-FE engines commonly use a cable throttle, while later versions typically use electronic throttle control and more involved communications between the ECU, throttle body, accelerator pedal, and body modules.
The donor model matters just as much. Sequoia, Tundra, Land Cruiser, and Lexus GX applications share the basic architecture, but oil pans, intake layouts, accessory brackets, engine mounts, exhaust manifolds, and wiring lengths can differ. A complete donor is worth more than a bare long block because it gives you the fuse boxes, relays, pedal, airflow meter, oxygen sensors, ignition coils, and connectors needed to finish the job.
Before placing an order, photograph every connector and label each branch of the harness. Save the donor VIN and photograph the ECU label. That information makes a replacement connector or wiring diagram far easier to identify six months later.
The wiring harness is a system, not a bundle of wires
Good 2UZ-FE engine swap compatibility and wiring harness tips begin with separating circuits into groups. Keep the engine-control wiring together: injectors, coils, crank and cam sensors, throttle control, airflow measurement, coolant temperature, and oxygen sensors. Keep power distribution, starter control, charging, fuel-pump control, and dashboard circuits clearly documented beside it. Do not remove wires simply because they do not appear to run directly to the engine.
Toyota ECUs often expect inputs from the automatic transmission, body control modules, vehicle speed, air conditioning, and immobilizer system. Removing a wire without understanding its purpose can create a no-start condition, limp mode, unstable idle, or a check-engine light that is difficult to diagnose. Factory wiring diagrams are the best starting point. Use the diagram for the exact ECU and donor year rather than relying on a generic 2UZ pinout copied from a forum post.
Build a spreadsheet with connector number, terminal number, wire color, original function, destination, and your new destination. Wire color is useful, but terminal location and circuit function are the authority. Toyota reused colors across different circuits, and a faded harness can make visual assumptions expensive.
ECU, immobilizer, and throttle decisions
The ECU choice should happen before you finalize the harness. Retaining the factory ECU can preserve reliable cold starts, idle control, knock correction, and factory diagnostic data, but immobilizer pairing can become the hardest part. Some donor combinations require the matching key, transponder amplifier, and immobilizer module. Others need a legitimate immobilizer solution or a compatible aftermarket controller.
A standalone ECU removes many factory dependencies, but it also changes the workload. You will need to configure injector data, ignition timing, crank and cam trigger settings, idle control, electronic throttle strategy, and oxygen-sensor inputs. Systems from Haltech, Link, and Megasquirt can be capable choices, but confirm support for the specific 2UZ trigger pattern and throttle hardware before purchasing. The cheapest ECU is not cheap if it creates weeks of troubleshooting.
Electronic throttle deserves special attention. Keep the pedal, throttle body, ECU, and required safety circuits from the same donor whenever possible. Do not splice an electronic throttle casually or bypass its redundant position signals. A wiring error can produce a dead pedal or an unsafe throttle response. For a first swap, a cable-throttle engine can simplify packaging and control, provided the ECU and emissions equipment are handled correctly.
Mechanical compatibility still controls the schedule
Strong 2UZ-FE engine swap compatibility and wiring harness tips cannot rescue an engine that does not physically fit the chassis. Measure oil-pan clearance against the crossmember and steering shaft before ordering mounts. Check bellhousing bolt patterns, starter position, transmission input length, shifter location, driveshaft angle, and exhaust clearance. A swap that uses the original Toyota transmission may still need a different flexplate, torque converter, pilot arrangement, or transmission controller.
Cooling capacity also deserves a real plan. The radiator, fan, shroud, hoses, expansion tank, and temperature sensor must work together. A 2UZ can produce substantial heat under load, especially in a heavy vehicle with towing-oriented gearing. A quality aluminum radiator is not a substitute for correct airflow; a properly sealed shroud often does more at low speed.
Fuel delivery should be sized for the engine and control strategy. Inspect the tank, pump wiring, fuel filter, regulator, and return arrangement. Use fuel hose rated for modern gasoline blends, secure the lines away from exhaust heat, and add a relay with an appropriate fuse rather than feeding the pump through an undersized factory circuit.
Bench-test the harness before installation
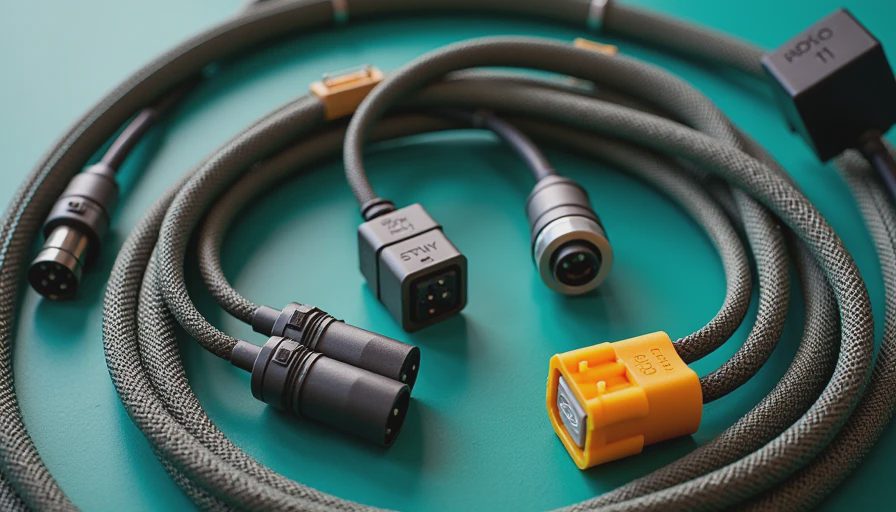
The most useful 2UZ-FE engine swap compatibility and wiring harness tips happen on a workbench. Lay the harness out next to the engine and connect every sensor, injector, coil, throttle component, and ground strap. Use a multimeter to check continuity from each ECU terminal to its destination. Then check for unintended continuity between power, ground, and signal circuits with the ECU disconnected.
Clean and relocate grounds deliberately. The engine block needs a heavy connection to the chassis, and the ECU and sensor grounds should terminate where the factory design expects them. Paint, powder coating, loose battery terminals, and small ground wires can create symptoms that look like bad sensors. Add service loops near the engine, protect the loom from exhaust heat, and use sealed connectors or proper adhesive-lined heat-shrink for repairs.
Power the system through the intended fuses and relays before cranking. Confirm constant battery power, switched ignition power, starter signal, fuel-pump activation, and charging voltage. With scan-tool communication established, look for believable sensor readings: coolant temperature should resemble shop temperature, throttle position should change smoothly, and engine speed should appear while cranking.
First start and final troubleshooting checklist
Use these 2UZ-FE engine swap compatibility and wiring harness tips for the first-fire sequence:
- Fill the engine with the correct oil and prime the lubrication system according to the engine's service procedure.
- Confirm fuel pressure, inspect every fuel connection, and check for leaks before enabling ignition.
- Verify firing order, coil connectors, injector connectors, and crank and cam sensor plugs.
- Scan for immobilizer, throttle, crank-signal, and communication faults before repeated cranking.
- Start with a fire extinguisher nearby, monitor oil pressure immediately, and shut down for abnormal noise, smoke, or overheating.
- Log coolant temperature, intake-air temperature, throttle angle, battery voltage, fuel trims, and oxygen-sensor activity as the engine warms.
When the engine runs, resist the urge to call the swap finished. Heat-cycle it, inspect the loom after vibration, retorque accessible mount hardware, and check for fluid leaks. A clean datalog is more valuable than a confident guess.
Document the build so the next repair is easy
The final 2UZ-FE engine swap compatibility and wiring harness tips are about documentation. Store the pinout spreadsheet, ECU calibration, fuse ratings, connector photos, sensor part numbers, and scan logs in more than one location. Label both ends of every added wire and write down any factory circuit you intentionally removed.
A build journal also exposes mistakes while they are still small. Record the donor year, transmission, mount dimensions, driveshaft changes, cooling parts, fuel-pressure readings, and the exact symptom behind every revision. If the truck develops a no-start problem next winter, that record can reduce a two-day hunt to a ten-minute check.
The 2UZ-FE rewards careful planning more than rushed parts collecting. Match the donor electronics, preserve the circuits the ECU actually needs, verify mechanical clearances, and test the harness before it disappears into the engine bay. Post your build. We'll read the whole thing.

No comments yet.