Rust repair on an E30 rarely starts with a dramatic hole you can see from the top. More often, the carpet comes out, the insulation lifts, and the floor tells the truth: swollen seams, brown scale, pinholes, and a soft section near a jacking point. Choosing the right e30 floor pans is only the first step. The real job is mapping the damage, preserving the shell's shape, and welding in metal that will survive another few decades.
This is workshop work, not a Saturday afternoon with a can of spray paint. Before ordering panels, strip the interior far enough to inspect both sides of the floor. Remove carpet, sound deadening, seats, seat-belt hardware, and any wiring close to the repair area. On a BMW E30, heat and sparks do not mix well with foam, insulation, fuel vapor, or an old harness.
Finding the actual rust boundary
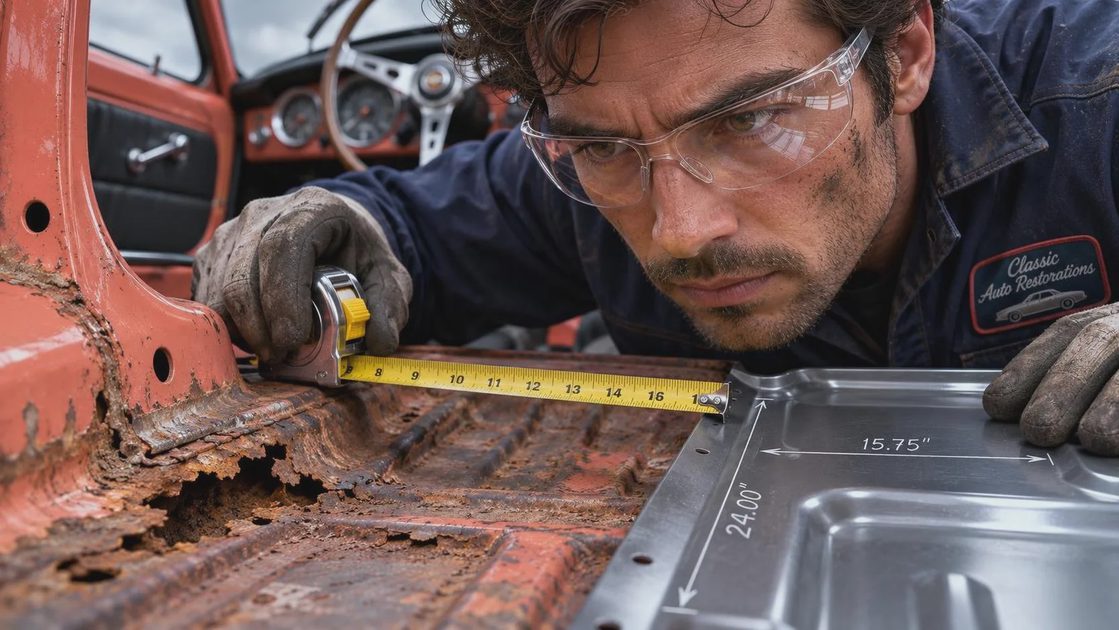
Start with a bright light and a pick or small screwdriver. Probe around the visible corrosion, especially at seams, drain plugs, seat mounts, and the raised areas where the floor changes shape. Solid metal gives a sharp, firm response. Rust-thinned steel feels dull, flexes, or lets the pick break through. Mark the boundary with a paint pen, then inspect the underside before cutting anything.
Pay close attention to water paths. A leaking windshield, sunroof drain, door vapor barrier, heater valve, or clogged cowl drain can soak the carpet and keep the floor damp from above. If the leak remains, even well-fitted e30 floor pans will become the beginning of another repair. Find the source first and plan to prove it is fixed with a hose test after the welding is complete.
The front floors deserve extra caution because the firewall, frame rail area, pedal box, and front seat mounting structure are nearby. Rear floor corrosion often spreads beneath undercoating and seam sealer. Do not assume a small oval patch is enough just because it covers the visible hole. Cut until you reach clean, solid steel, but avoid removing factory structure that is still serviceable.
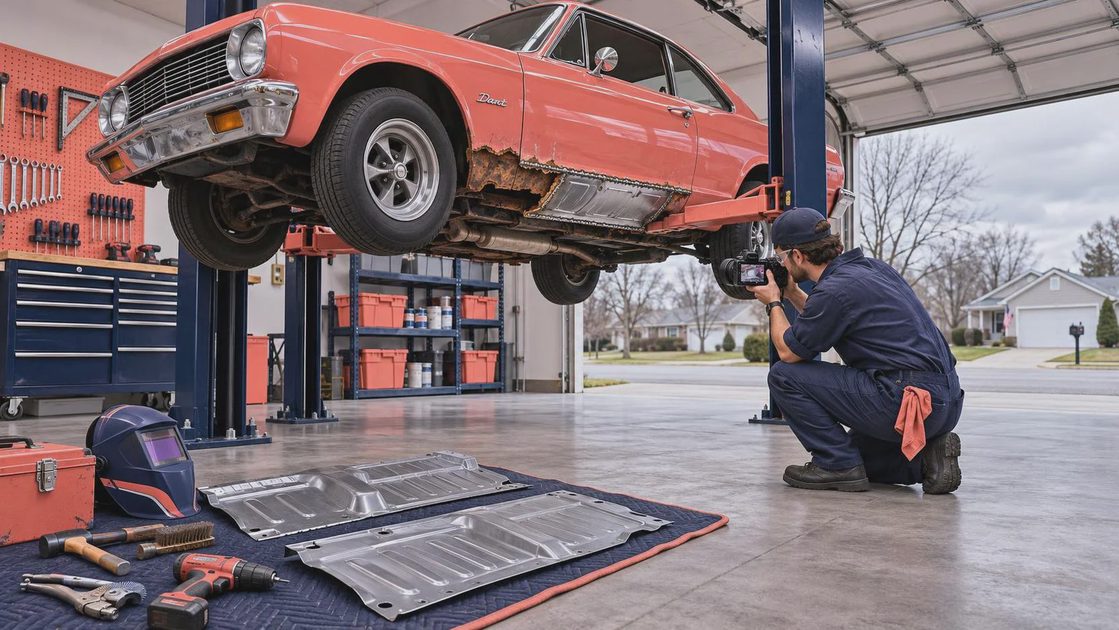
Choosing e30 floor pans for the job
Replacement panels vary in coverage, gauge, stamping quality, and how closely they follow the original contours. A small repair section can make sense when corrosion is limited to one flat area. A larger panel is usually better when rust reaches a seam, seat mount, drain area, or multiple bends. The goal is not to install the largest piece available; it is to create fewer unnecessary welds while retaining factory geometry.
When comparing e30 floor pans, look at photographs of the actual stamping rather than relying only on a catalog title. Check the flange locations, drain-hole placement, raised ribs, seat reinforcement openings, and transition into the rocker panel. Some budget panels are usable but need trimming and reshaping. That is fine if the price reflects the extra labor. A panel that is slightly undersized can be easier to work with than one whose edges force the surrounding floor out of alignment.
For a clean build, measure the original panel before cutting. Take diagonal measurements between fixed points, such as seat mount holes and tunnel edges. Record them in your build notes and photograph the reference points. If the shell is supported incorrectly, the opening can change shape when the rusty section is removed. Support the car at stable structural points and avoid lifting one corner while fitting a major floor section.
Cutting, fitting, and welding without warping
A cutoff wheel, air saw, spot-weld cutter, drill, scraper, and a selection of body hammers will handle most home-garage repairs. Remove factory spot welds only where necessary. Drill small pilot holes and use a spot-weld cutter when separating a flange from the rocker or tunnel. Keep the original edge available as a guide until the replacement panel is test-fitted.
Trim the repair panel slowly. A gap around 1 millimeter is workable for a butt weld, while a large uneven gap invites burn-through and distortion. Clamp the panel with magnets or welding clamps, then check the underside. The replacement should sit flush without being forced into place. If it needs heavy pressure, stop and reshape the panel; welding tension into the floor will show up later as oil-canning, cracked sealer, or misaligned interior trim.
With e30 floor pans, short tack welds are safer than running a continuous bead. Tack opposite sides, move around the opening, and let the metal cool between passes. Stitch the gaps in small sections, alternating locations. A properly set MIG welder with clean metal, shielding gas, and 0.023- or 0.030-inch wire is a practical setup for this steel. Practice on scrap of the same thickness before touching the car.
Do not weld over rust, seam sealer, paint, or trapped dirt. Grind to bright metal on both the car and the panel, then clean with wax and grease remover. Keep a spray bottle and fire extinguisher nearby, and inspect behind the repair repeatedly for smoldering insulation or debris. A welding blanket protects the cabin, but it does not make a fireproof work area.
Rebuilding seams and protecting the repair
After the welds are dressed, inspect the repair from both sides. Small pinholes should be welded, not buried under seam sealer. Recreate factory-style seams where the floor meets the rocker, tunnel, or reinforcement. These joints help control water and add stiffness, so a smooth cosmetic finish is not the only objective.
Apply epoxy primer to clean, prepared steel. Two-part epoxy is a stronger foundation than ordinary aerosol primer for a long-term restoration. Follow with seam sealer on joints and panel transitions, then use a suitable chassis coating or underbody finish on the underside. Inside the cabin, paint the repaired area before reinstalling insulation. Avoid sealing damp metal or trapping moisture under thick rubberized coating.
If the original floor had drain plugs, either reuse sound components or install an appropriate replacement that seals correctly. Do not casually delete every drain opening. A controlled drain can help after a future leak, while an unsealed hole can expose the cabin to water, fumes, and road spray.
Budgeting the repair and checking the finished shell
A small panel may cost roughly $50 to $150, while larger or better-formed replacement sections can run $150 to $400 or more depending on availability and coverage. Add welding wire, gas, cutoff discs, primer, seam sealer, paint, and replacement insulation. A home-garage repair commonly consumes $150 to $500 in materials beyond the metal itself. Professional labor can quickly exceed the parts cost because stripping, fabrication, access, and corrosion cleanup take time.
The best use of money is usually preparation. Buy quality safety gear, a decent welding helmet, and enough abrasives to expose clean steel. Spending less on the panel does not help if the repair has to be removed because the shell was distorted or the rust was left behind.
Before the interior goes back in, measure the seat mounts against your original notes. Confirm the seats bolt down without rocking, the carpet fits, and wiring is clear of sharp edges. Spray the repaired underside with water and inspect inside for leaks. Then drive over a rough road and listen for new rattles or flexing. Those checks catch problems while access is still easy.
For builders comparing e30 floor pans, the strongest choice is the panel that matches the damaged structure with the least forced fitting. Clean cuts, controlled heat, sound seams, and proper corrosion protection matter more than a glossy finish. Photograph every stage, record the panel source and weld settings, and document what you found under the carpet. Post your build. We'll read the whole thing.

No comments yet.