A brake line bender sounds like a simple hand tool, but on a project car it decides whether your lines look factory clean or like a reroute done under pressure. If you have ever tried to shape 3/16-inch tubing by hand and ended up with a flat spot, a kink, or a bend that landed an inch short, you already know why a brake line bender matters. The right tool keeps the radius consistent, protects the tube wall, and saves expensive tubing when the car is already on jack stands and the deadline is your own patience.
Clean hard lines matter because brake plumbing has no room for guesswork. A line that rubs the body, crosses too close to an exhaust, or hangs near a moving suspension arm can turn into a leak or a future failure. Good routing also makes the car easier to service later, which matters when you are back under the chassis two winters from now chasing a soft pedal. This is one of those jobs where the finished result looks small from ten feet away, but every good bend is doing real work.
Why clean bends matter more than shiny parts
The first thing a lot of builders notice is that brake tubing is less forgiving than fuel hose or coolant hose. It needs a smooth path, a proper flare, and enough clearance for body flex. On older cars, rusted clips and hacked repair sections make the job worse because you are not just replacing a line, you are rethinking the route. A clean bend lets you follow frame rails, crossmember edges, and factory mounting points without forcing the tube to twist. That is important whether you are using coated steel, nickel-copper, or stainless. If the bend geometry is right, the line seats where it should and stays out of the way.
The other part is confidence. When the line follows a calm, intentional path, you can inspect it fast and spot a problem before it becomes a roadside issue. That is the kind of result most home builders are after: not fancy, just correct.
Choosing a brake line bender for your setup
A brake line bender comes in a few forms, and the right one depends on how much tubing you expect to form. A small handheld tool is plenty for one axle refresh or a few repair sections. A bench-mounted unit gives better control when you are making repeated bends for an entire chassis. Hydraulic tools and professional tube machines are overkill for a basic driveway job, but they earn their space if you are doing full hard-line replacement or building a car with a custom pedal box and relocated master cylinder. For most project cars, a manual tool with clear angle markings is the sweet spot.
Pay attention to die size before you buy. Most passenger cars use 3/16-inch brake tubing, but some custom work calls for 1/4-inch or even larger on certain plumbing runs. If your chassis uses bubble flares, double flares, or a mix of both, the tool will not solve the flare choice for you, but it should leave the tube round and undamaged before the flare step. A brake line bender that feels smooth in the hand is usually cheaper than replacing a bad coil of tubing.
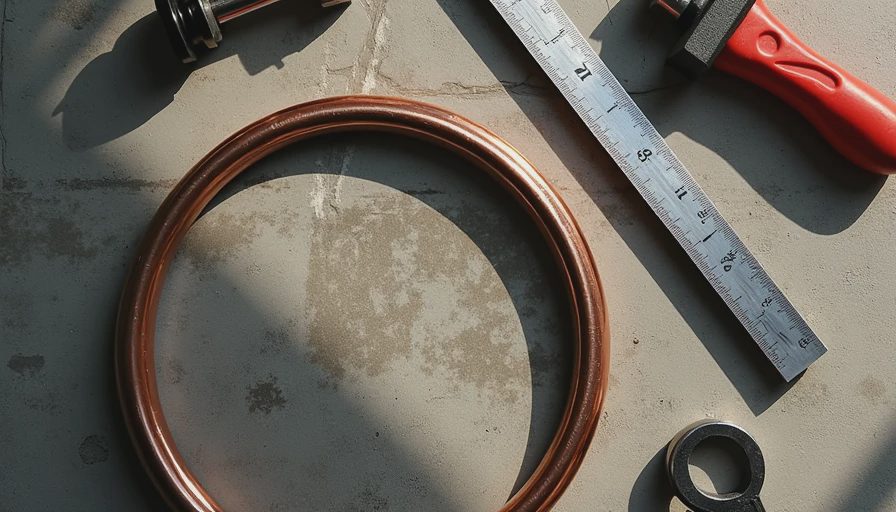
How to measure, mark, and bend without wasting tube
The best workflow starts with a mockup. Run string, welding wire, or a straight scrap line along the route first, then transfer those bends to the real tubing. Mark the center of each bend with a paint pen and keep your marks visible while the tube is in the tool. It helps to work from the middle of the line outward so the final ends land where the flare seats need to be. Leave extra length for trimming; it is easier to cut a little more off than to start over because the line came up short by half an inch.
Springback matters too. Some tubing springs back a few degrees after the bend, so learn the feel of your material before you trust a fresh run. Nickel-copper bends easier than steel, stainless is stiffer, and all of them behave a little differently when the weather is cold. If you are doing a full chassis, make two test bends on scrap first. That small step saves real money when one mistake would waste a full length of tubing.
Mistakes that turn one line into three
The fastest way to burn time is to bend after you flare instead of before. Once a flare is on the end, every mistake gets expensive. Another common miss is trying to bend too tight around an obstruction and expecting the tube to keep its round shape. It will not. If the radius is too aggressive, the inside wall wrinkles and the line becomes suspect even if it still looks usable from across the garage. A bad handhold can do the same thing, which is why a brake line bender is better than improvising with pliers, sockets, or a vise jaw.
The other mistake is forgetting that the line moves when the body and suspension move. A route that clears at ride height can still touch at full droop or when the engine rocks under load. That is why builders who test-fit twice usually build cleaner cars than builders who trust the first pass.
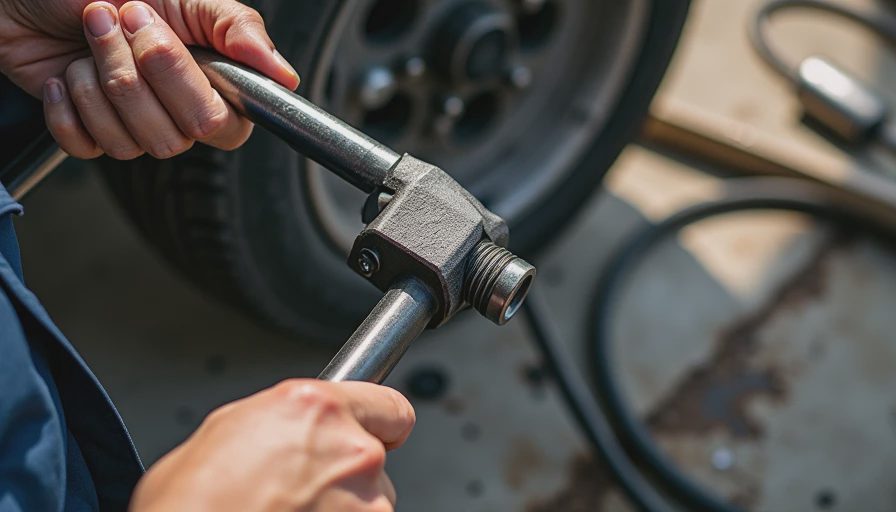
When a cheap tool is enough and when to spend more
If you are replacing one rear line and a short section near the master cylinder, a simple brake line bender is enough as long as the jaws are clean and the markings are readable. Those tools are cheap, usually in the range of a dinner out or less, and they pay for themselves the first time you avoid scrapping a length of tubing. When the job gets bigger, the quality gap shows up fast. A better tool holds the tube more consistently, makes repeat bends easier, and reduces the need to redo a section because the angle wandered off target.
That is where a home builder should spend a little more. If the project involves a firewall-mounted pedal assembly, a relocated ABS module, or a full re-plumb after a chassis swap, better indexing is worth real time. You are not buying bragging rights. You are buying fewer cuts, fewer re-bends, and fewer trips back to the parts store for another coil.
A practical workflow for a full project car
The cleanest way to use a brake line bender on a full build is to break the job into sections and finish each one completely before moving on. Start with a rough route, then make a cardboard or wire template for the hardest section first. Once that piece fits, duplicate the pattern on the real tubing, cut it, and flare the ends last. Working this way keeps the car from turning into a pile of loose lines with no home. It also makes pressure testing easier because you know which section to inspect if a connection weeps.
For a lot of builders, the real win is not the tool itself. It is the repeatable process. Measure, mark, bend, test-fit, trim, flare, and clamp it down before moving to the next run. Do that with patience and the hard lines start to look like part of the car instead of a repair. Post your build. We'll read the whole thing.

No comments yet.