I'm not a composites expert. I'm a guy with a garage, some YouTube tutorials, and a stubborn refusal to pay $400 for a carbon intake duct that I could probably make myself. The duct was for my E36 track car – a simple 3" diameter, 12" long tube with a slight 45° bend and a flange at one end to mount to the throttle body. Simple geometry, right? Wrong.
Carbon fiber wet‑lay is one of those skills that looks deceptively easy on YouTube. Spread some resin, lay down some fabric, brush it smooth, and pull a perfect part 24 hours later. The reality, as I learned, involves pinholes, wrinkles, bubbles, stuck parts, and a lot of swearing.
I documented every attempt – the good, the bad, and the truly ugly. Here's what I learned.
Attempt 1 – The "I'll Just Wing It" Disaster
Mold: I 3D‑printed a two‑piece mold from PLA, sanded it smooth, and sprayed it with automotive clear coat for a glossy finish. In theory, that should have been a decent release surface.
Process: I waxed the mold with carnauba wax – once, because I was impatient. I mixed my resin (EPOXY, not polyester), brushed it on, laid down two layers of 6oz plain weave carbon, and wrapped the whole thing in perforated release film. No vacuum bag – I just hand‑compacted with a roller and left it to cure at room temperature for 24 hours.
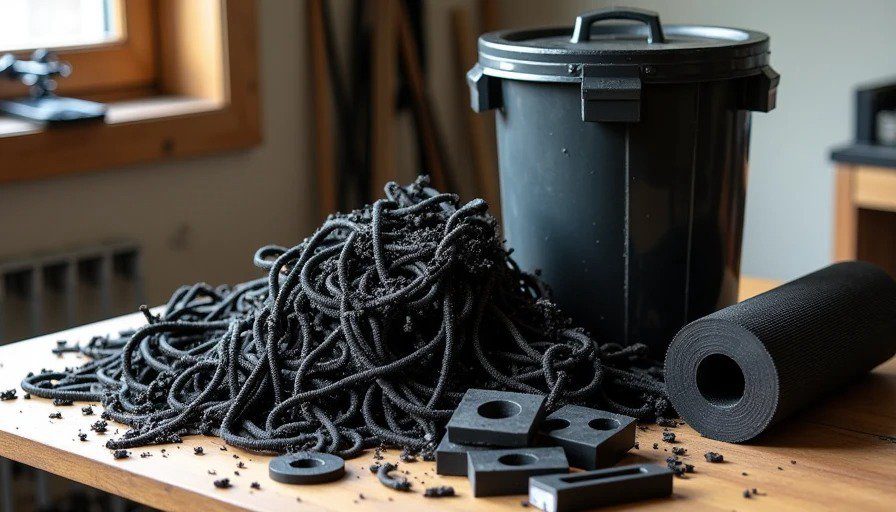
Result: The part was stuck so badly that I had to chisel the mold apart. The carbon separated in layers, tore in three places, and the flange crumbled. The mold was ruined. I threw everything in the trash and ordered more carbon fabric.
Photos: The part looked like a bird's nest made of black spaghetti. The mold came out in pieces. It was humiliating.
What went wrong:
One coat of wax is not enough. I needed at least five coats, with proper buffing between each.
No vacuum bag meant the layers didn't compact, leaving air pockets and poor adhesion between plies.
The PLA mold warped slightly in the heat of the resin exotherm, causing the carbon to lock into the mold geometry.
Room‑temperature cure without a post‑cure left the part too soft – it tore when I pulled it.
What I changed for Attempt #2:
Switched to a proper mold release system (Partall Paste #2 + PVA film).
Bought a cheap vacuum pump and bagging kit.
Made a new mold from MDF, sealed with epoxy primer, and sanded to 600 grit.
Attempt 2 – The "Better, But Still Ugly" Attempt
Mold: MDF block, sealed with Z‑Poxy finishing resin, sanded to a glass‑like finish. I applied 5 coats of Partall wax, buffing each one thoroughly, and then sprayed a thin coat of PVA release agent.
Process: I wet‑laid two layers of carbon, this time with careful roller compaction. I added a peel ply layer, then a breather cloth, and pulled a full vacuum at 25 inHg. I left it under vacuum for 12 hours, then let it cure for another 12 hours at room temperature. I then post‑cured the part in a makeshift oven (a cardboard box with a heat gun) at 150°F for 4 hours.
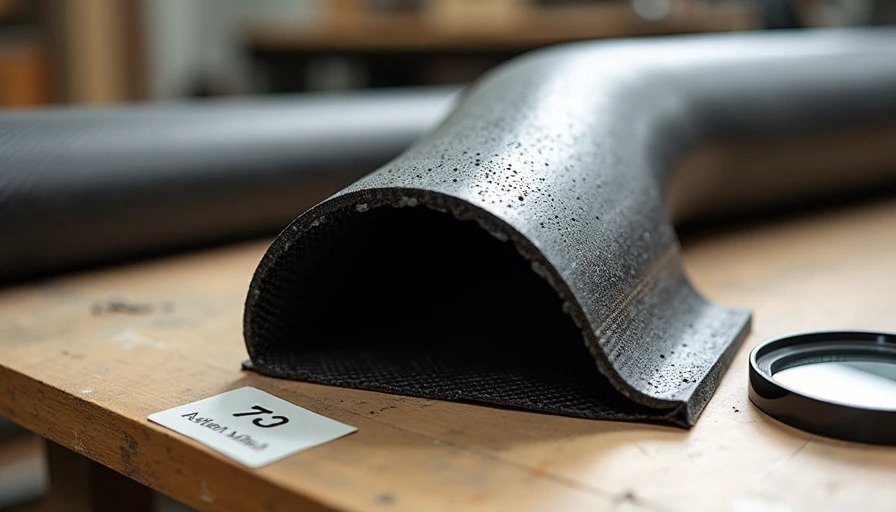
Result: The part released cleanly – with a satisfying pop when I cracked the mold. No stuck material. The geometry was perfect. But the surface was a disaster. Pinholes everywhere. A wrinkled edge where the fabric didn't lay flat around the bend. And the glossy finish I'd hoped for was dull and matte.
Photos: The part looks like it has acne – hundreds of tiny pinholes. The flange has a wavy, wrinkled edge that would have leaked air. It's structurally sound, but cosmetically unusable for an intake duct that sits right in the engine bay.
What went wrong:
I didn't use enough resin on the first layer – the fabric was too dry, and the pinholes formed where the resin didn't penetrate the weave.
The bend radius was too tight for the 6oz fabric to conform without bunching. I should have used a 2x2 twill (which drapes better) or cut the fabric on a bias.
The PVA film was too thick – it created a "orange peel" texture that transferred to the part.
I rushed the post‑cure – 150°F for 4 hours wasn't enough to fully cross‑link the epoxy; I should have ramped to 180°F over 6 hours.
What I changed for Attempt #3:
Switched to 2x2 twill carbon (3k) for better drapability.
Used a "wet‑out table" – I pre‑wetted each ply on a glass plate before laying it in the mold, ensuring full resin saturation.
Used a pin‑hole filler (a diluted epoxy slurry) applied before the final layer.
Changed my post‑cure cycle: 140°F for 2 hrs, then 180°F for 4 hrs, with a slow ramp.
Attempt 3 – The One That Finally Worked
Mold: Same MDF mold, but I refined the surface to 1000 grit and applied 7 coats of wax (yes, seven) with a final spray of PVA. I also polished the mold between wax coats with a microfiber cloth.
Process: I pre‑wetted two plies of 2x2 twill on a glass plate, fully saturating each ply with a measured amount of resin (I used a scale – 1:1 ratio by weight). I laid the first ply into the mold, carefully working it into the 45° bend with a heat gun (which softened the fabric and reduced wrinkling). I then added a second ply, again with careful positioning. I used a peel ply and a perforated release film, then bagged it under full vacuum (28 inHg) and left it overnight.
The next morning, I removed the bag, trimmed the edges, and post‑cured it with a ramp cycle: 2 hours at 140°F, 2 hours at 160°F, then 4 hours at 180°F, with a slow cool‑down.
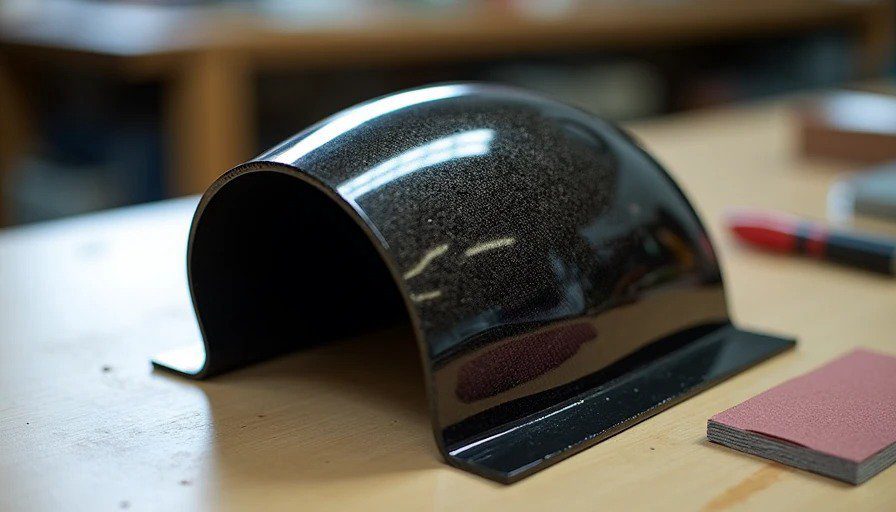
Result: Perfect release. The part popped out with a satisfying crackle, and the surface was glossy, smooth, and pinhole‑free. The bend was clean, no wrinkles, and the flange was flat. I trimmed the edges with a diamond wheel, wet‑sanded the surface to 2000 grit, and clear‑coated it for UV protection. It looks like a factory part – or better.
Photos: A glossy, mirror‑finished intake duct that I'd happily mount in the engine bay. No pinholes, no wrinkles, perfect geometry. The flange is flat and the bolt holes line up with the throttle body.


No comments yet.